


Typewriter Platen Restoration: Fix Hard, Soft or Sticky Rollers
The platen on your Royal Quiet De Luxe or Olivetti Lettera has turned to rock. You press a key and instead of a clean impression, you get a faint ghost of a letter because the carriage doesn’t spring back properly, the paper keeps slipping, or worse — the key punches right through the paper. That’s a typewriter with a failed platen, and it’s the most common reason a fully functional vintage typewriter becomes unusable.
Typewriter platen repair — whether you’re hardening a soft platen, rejuvenating a brittle one, or replacing it entirely — is a doable weekend project for most machines. This guide covers all three scenarios, gives you specific product recommendations, and tells you when DIY stops making sense.
What Is a Typewriter Platen and Why Does It Need Repair?
The typewriter platen is the large rubber roller that sits at the center of the carriage. When you feed paper into the typewriter, it wraps around the platen — that rubber surface provides the cushioned backstop that allows each typebar to make a clean impression. Without it, you’re essentially hitting a metal rod with a piece of paper between you and the type face. The results are ugly.
A healthy typewriter platen has a firm but slightly giving rubber surface — it should compress slightly under fingernail pressure without being spongy, and it should spring back immediately. What happens to most vintage platens over 40–70 years is one of two failure modes:
Hardening (The Most Common Problem)
Rubber oxidizes over time, especially when exposed to UV light, ozone, and temperature cycling. A typewriter platen that’s spent decades near a window or in a drafty garage loses its plasticizers — the chemical compounds that keep rubber flexible — and hardens to a consistency not far from plastic. When this happens, typewriter platen repair becomes necessary: impressions become uneven because the platen can’t cushion the typebar impact, and the paper feed mechanism may slip because there’s insufficient friction against the paper.
Hard platens produce thin, pale impressions even with fresh ribbon. Letters often look “embossed” rather than inked — the rubber is bouncing the typebar back rather than letting it compress into the paper surface.
Softening, Cracking, and Delamination
Less common but equally problematic: some platens absorb solvents, oils, or just go chemically wrong with age and become sticky or soft. A soft typewriter platen lets keys punch through the paper, especially on heavy old typebars. Visible cracking along the platen length indicates the rubber has broken down and no amount of rejuvenation will fix it — only replacement will do.
The typewriter platen is the most commonly repaired or replaced rubber component on any vintage typewriter. More than the feed rollers, more than the feet — the platen simply has the hardest job and the largest surface area of rubber to maintain. If your machine isn’t producing good impressions and the ribbon and keys are in good shape, start your diagnosis at the typewriter platen.
Diagnosing Your Platen: Hard, Soft, or Just Dirty?
Before you start any repair, confirm which problem you actually have:
The Fingernail Test
Press your thumbnail firmly into the platen surface. Healthy rubber leaves a mark that disappears in a second or two. If the platen is so hard your nail barely dents it — that’s hardening. If your nail sinks in easily and the mark stays — that’s excessive softness. If the platen feels tacky or leaves rubber residue on your finger, it’s degraded and needs replacement.
The Paper Grip Test
Insert a sheet of paper and try to pull it back out without releasing the paper release lever. You should feel solid friction. If the paper slides too easily, the platen has lost its grip — either from hardening (less surface friction) or from a film of dried ink and debris coating the surface. Sometimes a thorough cleaning with isopropyl alcohol on a cloth fixes a slipping platen without any other repair needed.
Check the platen visually: hairline cracks running perpendicular to the platen length mean the rubber has structurally failed. Rejuvenator compounds won’t help here.
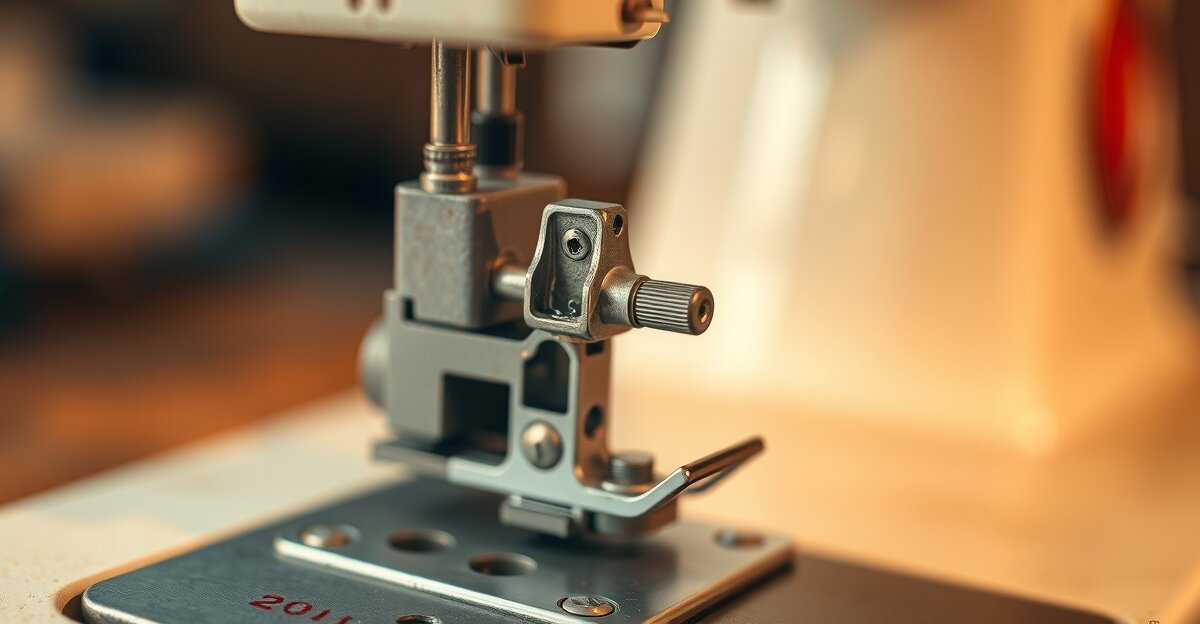
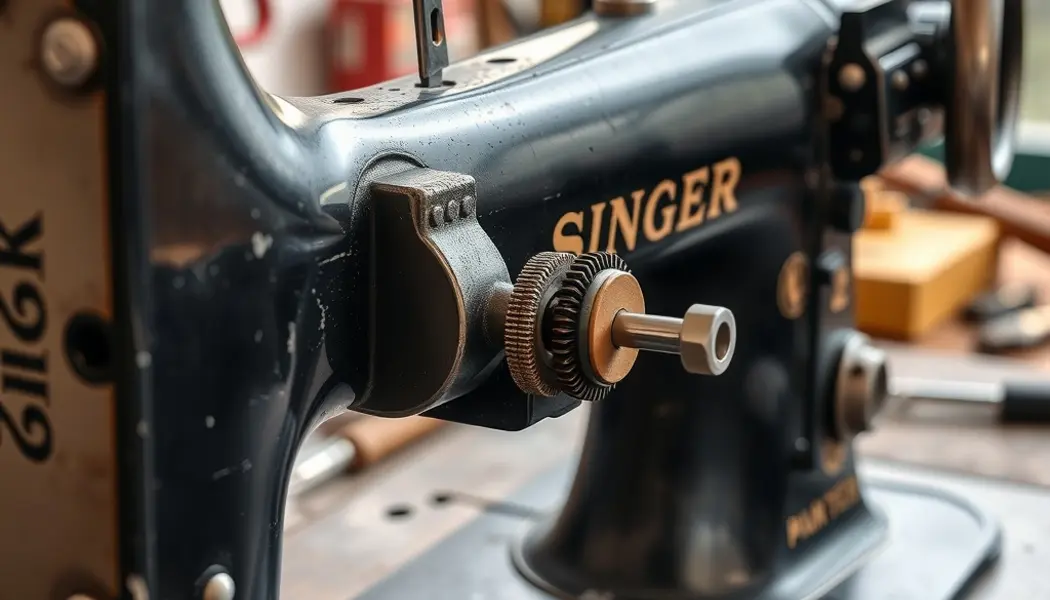
How to Remove the Platen
The process is different on every machine, but the general principle is the same: the platen is held by the platen knobs at each end, which are attached to a steel rod running through the rubber roller. Removing the platen means pulling it free of the carriage by releasing the end caps or knobs.
Standard Removal Process
- Locate the platen knobs at each end of the carriage (the round wheels you grip to advance paper)
- On most machines, one or both knobs unscrews — check right-side first, some machines use left-hand threads
- Some machines have a ratchet release: press a button near the right platen knob to release the line-spacing mechanism
- With the knob removed, the platen shaft slides out the right side of the carriage
- The rubber roller itself (the typewriter platen) then lifts free
Royal machines typically have a screw through the right platen knob. Olivetti Letteras have a clip that needs to be pressed inward. Hermes 3000 platens are notoriously stubborn — there are YouTube guides specific to that machine worth watching before attempting removal.
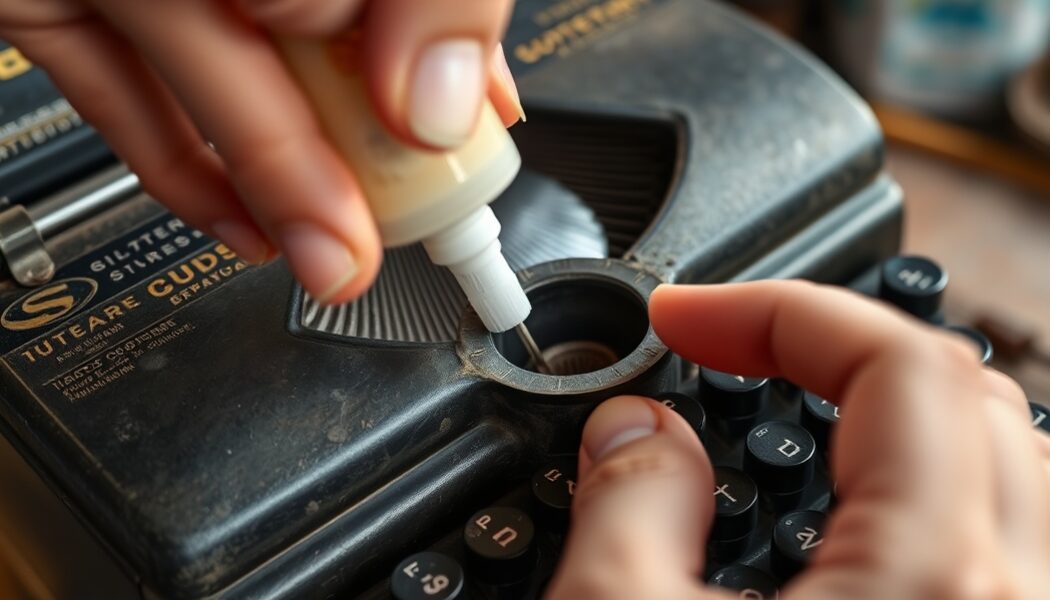
Typewriter Platen Repair Method 1: Rejuvenator Compound
For platens that are hardened but not cracked, a rubber rejuvenator compound can restore softness and grip. This is the cheapest and easiest repair option — it works on many platens and costs $10–$25 for a bottle that treats multiple machines.
Products That Work
- Platen Rejuvenator by Typewriter Heaven — specifically formulated for typewriter platens and feed rollers. Apply with a cloth, let sit 24–48 hours, wipe excess.
- Armor All Original Protectant — yes, the car product. Works as a platen treatment for mildly hardened rubber. Not as effective as dedicated rejuvenators but widely available.
- Permatex Rubber Conditioner — another automotive product that penetrates rubber and partially restores flexibility. Better for feed rollers than the main platen but worth trying.
Application Process
- Clean the platen with isopropyl alcohol first — remove all ink, debris, and old dried rubber
- Apply rejuvenator compound to a lint-free cloth (not directly to the platen, which can oversaturate)
- Rub in circular motions across the entire platen surface
- Let the platen sit for 12–24 hours — the compound needs time to penetrate
- Apply a second coat if needed; most platens respond within 2–3 treatments
- Wipe off any residue before reinstalling
Realistic expectations: rejuvenator works well on platens that are 10–15% harder than ideal. If the platen is completely rock-hard with no flex at all, you’re likely beyond what any compound can fix. Some improvement is possible, but it won’t feel like new rubber.
Typewriter Platen Repair Method 2: Professional Re-covering
For platens that are beyond rejuvenation or visibly cracked, professional re-covering is the proper solution. A typewriter restoration specialist will strip the old rubber from the metal core, turn the core on a lathe to precise dimensions, and apply new rubber compound to the specified thickness and Shore hardness.
This is the best typewriter platen repair result you can get — the platen comes back to factory spec or better. Cost ranges from $40–$120 depending on platen size and the specialist’s location. US-based platen re-covering services include Typewriter Heaven and Ames Supply, both of which have been active in the vintage typewriter community for years. Send-in turnaround is typically 2–4 weeks.
This is worth it for machines with sentimental or monetary value — an Olivetti Lettera 22 or Hermes 3000 is worth paying $80 to get back to full functionality. For a $30 thrift-store Smith-Corona, a replacement platen from a donor machine makes more economic sense.
Typewriter Platen Repair Method 3: Platen Replacement
When re-covering is too expensive and rejuvenator isn’t enough, a replacement typewriter platen from a donor machine is often the most practical option.
Sourcing a Replacement Platen
- eBay — broken or “parts only” typewriters: Search for your machine model with “parts” in the query. A Royal Quiet De Luxe with a dead motor but a good platen sells for $15–$30 and gives you the part you need.
- Typewriter repair shops: Many shops maintain parts machines. A phone call explaining what you need often produces results, especially for common models like Smith-Corona Super or Olympia SM series.
- Typewriter collector groups: Facebook groups and forums like the Typewriter Talk community often have members parting out machines. Platens frequently available for Royal, Hermes, Olympia, and Smith-Corona.
Important: platens are not universal. A Royal Quiet De Luxe platen won’t fit an Olivetti Lettera, even if they’re from the same era. Match make, model, and ideally the year range — platen dimensions changed across production runs on some models.
After Repair: Testing and Fine-Tuning
Reinstall the platen and run through a test page before declaring success:
- Type a full alphabet at normal speed — look for even impression depth across all characters
- Type numbers and punctuation — these typebars often hit harder and can reveal inconsistencies
- Check paper feed: advance several lines and confirm the paper doesn’t slip or skew
- Type on different paper weights — thin airmail paper is a stress test for a too-hard platen
If impressions are uneven — some letters dark, others faint — the platen may still have a flat spot from years of sitting in one position. A week of regular use often resolves minor flat spots as the rubber warms up and the compression redistributes. If it persists, one more application of rejuvenator compound, or accepting that the platen needs professional attention, are your two remaining options.
Frequently Asked Questions
How much does typewriter platen repair cost professionally?
Professional typewriter platen re-covering typically costs $40–$120, depending on platen size and the specialist. DIY rejuvenator compounds cost $10–$25 and work well on mildly hardened platens without cracking. If you’re looking at the cheapest overall option, sourcing a replacement platen from a donor machine on eBay (often $15–$35 for a parts machine) is frequently the most economical route — especially for common models like Royal, Smith-Corona, or Olympia where donor machines are plentiful.
How do I know if my platen needs replacement vs rejuvenation?
If the platen has visible cracks, delamination, or is uniformly rock-hard with zero flex under firm nail pressure, replacement or re-covering is the right call. If the rubber still has some flex but impressions are inconsistent and paper grip is weak, rejuvenator compound is worth trying first. It costs $15 and 20 minutes of effort — cheap insurance before committing to a more involved repair.
Can I use WD-40 or silicone spray on a typewriter platen?
No. WD-40 is a water displacer and light solvent that will temporarily soften the rubber but causes accelerated deterioration over time. Silicone spray is less harmful but doesn’t penetrate rubber the way purpose-made rejuvenators do. Stick with dedicated rubber conditioner products or Armor All for maintenance — they won’t cause additional damage and actually work.
What Shore hardness should a typewriter platen be?
Standard typewriter platens were manufactured to approximately Shore A 40–50 hardness — firm enough to resist deformation from repeated typebar impact, soft enough to cushion the blow and allow even ink transfer. When ordering a re-cover, specify “Shore A 40” for standard typing use, or “Shore A 35” if you’ll be typing on very thin paper regularly. Harder than A 55 and you’ll see the same thin impressions you had with the degraded platen.