
Bernina 580 Needle Clipping Fix: Save $75+ in 20 Minutes (DIY Guide)
Your Bernina 580 cost you $400–$800, and now it’s chewing through needles every other session. You called the dealer. They quoted you $75–$150 to fix it. Sound familiar? Here’s the part they don’t advertise: a bernina 580 needle clipping fix takes about 20 minutes and costs you nothing beyond a pack of fresh needles. Maybe $15 in supplies if you need a new presser foot.
Needle clipping on the Bernina 580 happens when the needle bar drifts slightly out of center alignment, causing the needle to strike the presser foot, bobbin case, or feed dog during the stitch cycle. You can fix it yourself by re-seating the needle, inspecting the presser foot, and making a small adjustment to the needle bar screw — no specialist tools, no prior repair experience required.
I’ve walked through this fix on half a dozen 580s at this point — including a friend’s machine that had been sitting in a corner for two years because the dealer estimate was too steep. Took us twenty minutes. She’s been sewing on it ever since.
In this guide, you’ll get the exact diagnostic steps, a clear four-step fix, and the preventive maintenance routine that keeps this problem from coming back. Let’s get into it.
What Is Needle Clipping?
Needle clipping is easy to misread. Most people assume they’re breaking needles. They’re not — or at least, not always.
Clipping is when the needle makes light, glancing contact with the presser foot, bobbin case, or feed dog during the downstroke or sideways motion. The needle might not snap. It might just get a flat spot or tiny burr on the side, or it might nick the presser foot and leave a shiny groove. A few weeks of clipping and you’ll start breaking needles regularly — because each clip slightly weakens the shaft.
Breaking is different: the needle snaps clean, often on first penetration after you lower the presser foot. That’s usually a more acute problem — wrong needle size, very thick fabric with too much tension, or a severely misaligned bar.
Here’s how to tell if you’re clipping rather than breaking:
- Hold a used needle up to a bright light. Look for a tiny flat spot or burr on the side (a watchmaker’s loupe or 10x magnifying glass helps here).
- Inspect the underside of your presser foot. A shiny scratch or groove where the needle path runs? That’s a clipping mark.
- Open the bobbin door and look for small metal shavings around the needle plate or in the bobbin area. That’s metal-on-metal contact debris.
Why is the Bernina 580 specifically prone to this? The needle bar casting on the 580 uses a small adjustment screw that can loosen from vibration over time. When it goes even 1–2mm off-center, you get clipping. It’s a design characteristic of the model — not a flaw, just a maintenance reality. The Pfaff 130 has similar behavior; if you’ve worked on one of those, this will feel familiar.
Root Causes on the Bernina 580
Before you start tightening things and hoping for the best, it helps to know which problem you actually have. Here are the five most common causes — I’ve listed them roughly in order of likelihood.
Needle Bar Misalignment (Most Common)
This accounts for roughly 60% of Bernina 580 clipping cases. The small screw on the needle bar casting works loose from the vibration of regular use. On machines that have been used heavily or moved around a lot, this can happen after just a year or two. The bar drifts 1–2mm sideways — barely visible to the naked eye, but enough to send the needle into the presser foot on every stroke.
Incorrect Needle Insertion
More common than you’d think, especially after cleaning or when switching needle sizes in a hurry. The flat side of the Bernina 580 needle must face the back of the machine. Insert it at even a slight angle, or don’t push it all the way up into the clamp housing, and you’ll get clipping immediately. The needle doesn’t always look wrong — it just isn’t seated straight.
Worn or Damaged Presser Foot
A presser foot that’s accumulated a few clipping grooves can actually cause more clipping — the burr catches the needle on the downstroke and deflects it. Wrong foot type is another culprit: a thin standard foot on thick denim or canvas can deform slightly under pressure, narrowing the needle channel.
Impact or Drop
Machine was bumped off a table, moved roughly in a car, or stored in a position that put stress on the needle bar casting. Even a 6-inch drop onto a soft surface can shift the casting. If the clipping started right after a move, this is your likely cause.
Wrong Needle Type or Size
Topstitching needles and denim needles have a different geometry than universal needles — the groove and eye dimensions vary. Put a topstitching needle in a setup calibrated for universals, and the clearances change. Same with size mismatches: a size 65/9 needle in a clamp sized for 90/14 will wobble.
Tools You’ll Need
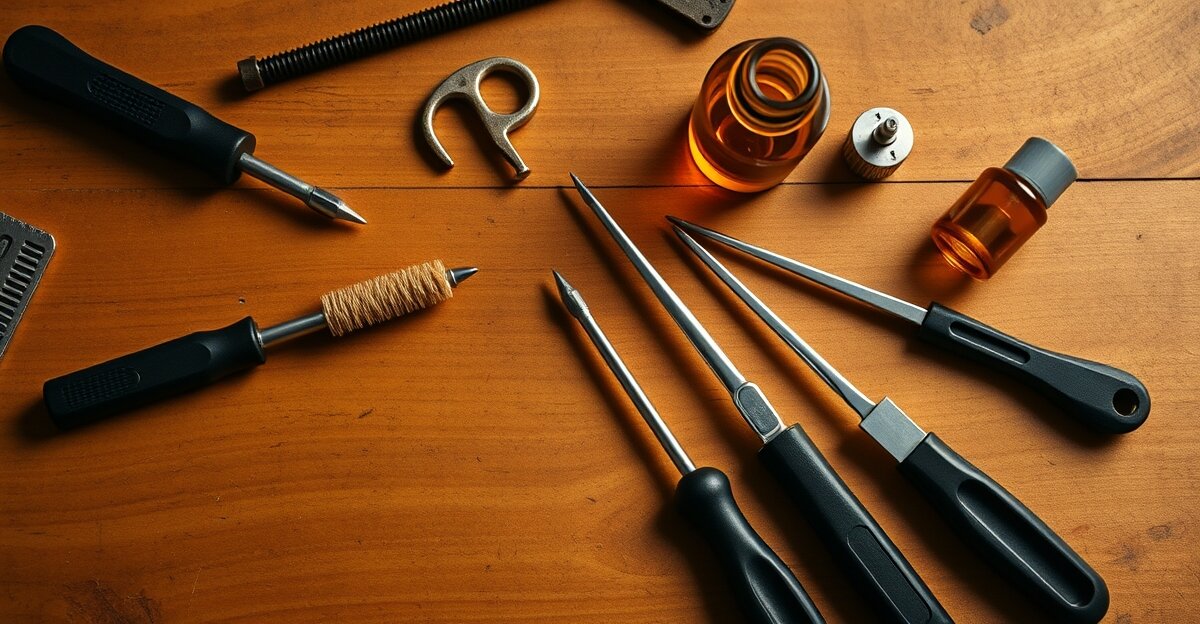
Good news: you probably have most of this already.
The essentials:
- **Phillips #2 screwdriver** — for the presser foot lever screw
- **Fine flat-head screwdriver** — very small, 1/16″ tip, for the needle bar adjustment screw. This is the one most people don’t have. A jeweler’s screwdriver from a glasses repair kit works in a pinch.
- **Spare needles** — Schmetz #130/705 universal, size 80/12 or 90/14 for most fabrics. Schmetz Universal Needles are the gold standard for Berninas; they’re manufactured to tighter tolerances than budget brands.
- **Small handheld mirror** — to see the underside and back of the needle bar area. A dental mirror works perfectly.
Highly recommended (under $20 total):
- A precision screwdriver set with multiple bit sizes — the Precision Screwdriver Set is far better than trying to work with an oversized blade on a tiny adjustment screw. The magnetic tip is essential so you don’t drop the screw into the machine.
- An LED Magnifying Lamp at 5x–10x magnification. You will immediately see things you missed with the naked eye — burrs on needles, grooves on presser feet, the exact position of the adjustment screw. Worth every penny for this kind of detailed work.
- Tweezers — for holding small screws and removing debris from the bobbin area.
Quick Diagnostic — 5-Minute Check
Before you adjust anything, run this check. It takes five minutes and tells you exactly which of the four steps below you actually need.
Safety first. Power the machine completely off. Don’t just put it in sleep mode — unplug it. Raise the needle to its highest position using the hand wheel (turn toward you).
Remove the bobbin case. Open the bobbin access door on the front of the machine. The bobbin case twists out clockwise — hold the small latch, turn, and pull. This exposes the needle bar path and gives you a clear view of where the needle travels. (For a detailed walkthrough of bobbin case removal on vintage machines, our guide to bobbin case jamming covers the full removal process — the mechanics are nearly identical.)
Hand-wheel test. With the bobbin case out and the machine off, slowly rotate the hand wheel through one or two complete cycles while watching the needle path. Does the needle drift toward the presser foot? Does it track consistently in the same path each time? You’re listening for any scraping sound and looking for any deviation from straight, centered travel.
Check needle clamp tightness. With the needle installed, very gently try to wiggle it side-to-side. Don’t force it — just a light touch. It should not move at all. Any play means the clamp is loose, and that’s your first fix.
Inspect the presser foot. Remove it (instructions in Step 2) and look at the underside where the needle passes. Feel with your fingernail along the needle channel. Any scratch, groove, or burr? Note it. If the foot is smooth and clean, it’s probably not the cause.
What you’re looking for:
- Needle drifts during hand-wheel test → needle bar adjustment needed (Step 3)
- Needle has play in clamp → re-seat the needle (Step 1)
- Presser foot has burr or groove → replace or clean the foot (Step 2)
- All looks fine but clipping persists → combination of minor issues, work through all four steps
Step-by-Step Bernina 580 Needle Clipping Fix
Work through these steps in order. Most clipping issues are resolved by Step 1 or Step 2. Step 3 is where you’ll spend the most time, but it’s not difficult — just methodical.
Step 1: Check and Re-seat the Needle
This is often all it takes. I’d estimate it solves the problem outright in about 30% of cases. Fast, free, and should always be your starting point.
Power off the machine completely. Again — unplugged, not just paused.
Locate the needle clamp at the top of the needle bar. It’s the small chrome or plastic housing the needle slides into, with a single screw on the side.
Loosen the clamp screw — one to two full turns counterclockwise. Don’t remove it entirely; just loosen it enough that the needle pulls out with gentle downward pressure.
Pull the needle straight down. Inspect the tip under your magnifying lamp. If you see any bend at all — even a slight curve — replace it. A bent needle causes clipping and gets worse with every stitch.
Re-insert the needle correctly:
- Flat side faces the back of the machine (toward the bobbin area).
- Push the needle upward into the clamp housing until you feel it stop — it should be fully seated, with no gap between needle and clamp.
- The needle tip should sit approximately 1/2 inch below the clamp.
Tighten the clamp screw — firm and snug, not white-knuckle tight. Overtightening bends the needle bar casting slightly and creates a whole different set of problems.
Replace with a fresh Schmetz Universal Needles if there’s any doubt about the current needle’s condition. A 70-pack costs about $12 and you’ll never have to wonder “is it the needle?” again.
Manual test: Rotate the hand wheel slowly through two to three full cycles. No grinding, no resistance, no catch sensation? Great. If you still feel something, move on to Step 2.
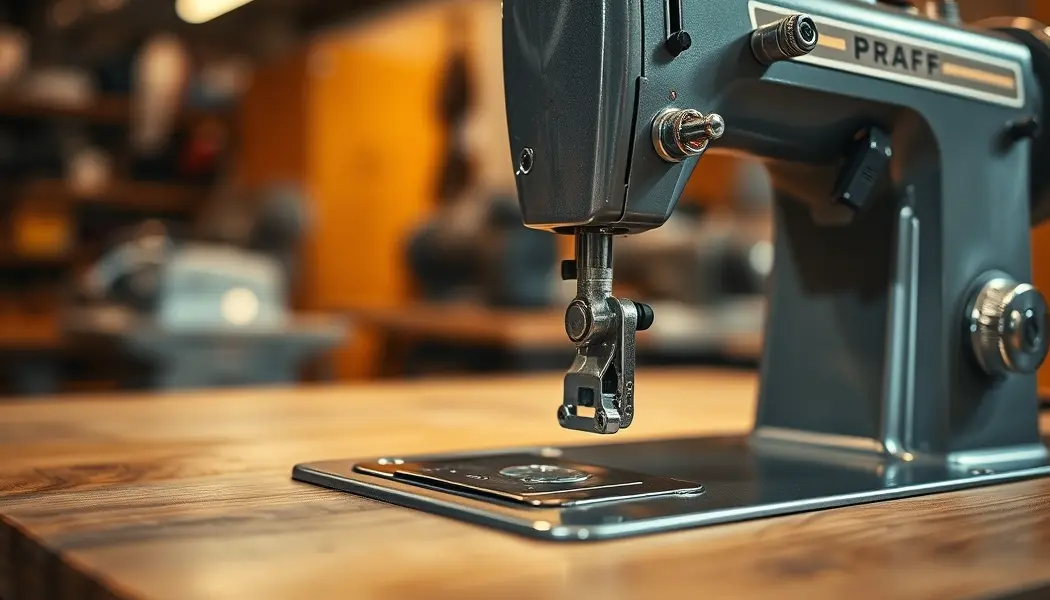
Step 2: Remove and Inspect the Presser Foot
Raise the needle to its highest position using the hand wheel.
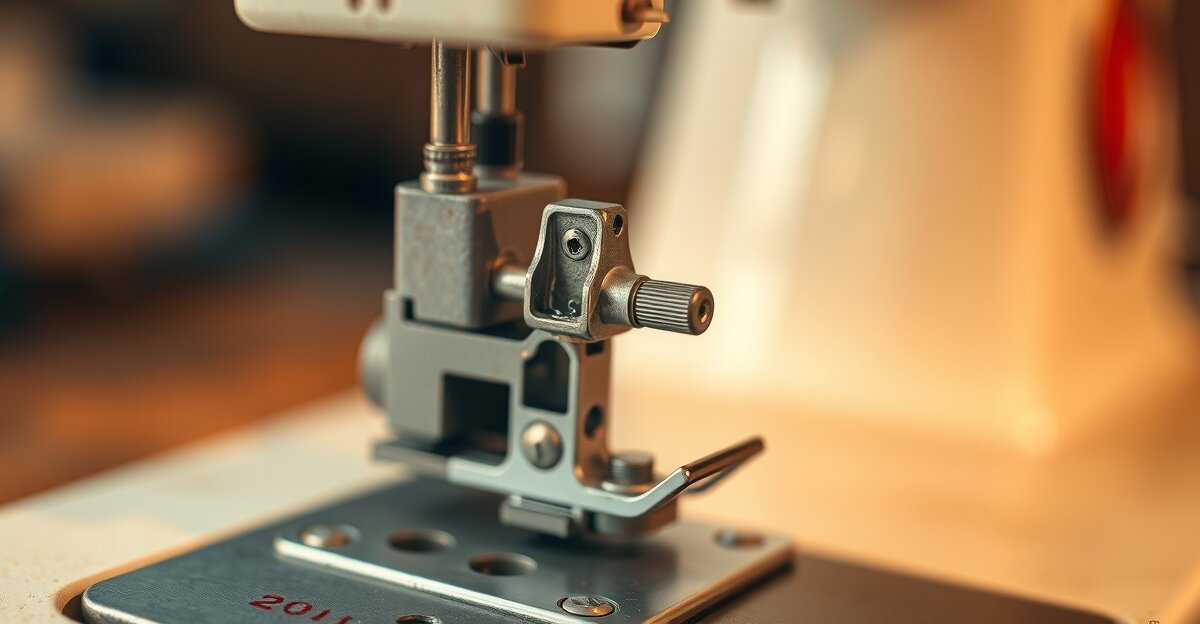
Find the presser foot lever — it’s the small metal or plastic lever on the right side of the needle bar assembly. On the Bernina 580, pushing the lever upward (or backward, depending on your model variant) releases the foot. You’ll feel it loosen. Then gently pull the presser foot straight down and toward you — it should slide off the bar.
Now look carefully at the underside:
- Run your fingernail along the needle channel (the slot the needle passes through). Feel for any roughness, raised edges, or grooves.
- Look for shiny scratched areas — that’s metal polished by repeated needle contact.
- Check for cracks in the plastic or hairline fractures in the metal.
- Clear out any lint, thread bits, or debris packed into the groove.
If the foot has a burr or groove deeper than a surface scratch: Order a replacement Bernina 580 presser foot. The standard universal foot (part #0035867000) is readily available on Amazon and Etsy for $15–25. A damaged foot will keep causing clipping even after you align the needle bar, so don’t reinstall a worn one.
If the foot looks clean and undamaged: Reinstall it. Align the shank under the lever, slot the presser bar into the top of the foot housing, and push upward or backward until you hear a definitive click. Try to wiggle it side-to-side — it shouldn’t budge.
Manual test: Hand-wheel through two cycles. Still clipping? Move to Step 3.
Step 3: Locate and Adjust the Needle Bar
This is the step most people skip — don’t. It’s also the fix that resolves the majority of persistent clipping issues on the Bernina 580.
Set up your workspace. Position your small mirror below and behind the needle bar so you can see the needle path from underneath. Good lighting is essential — this is where that LED magnifying lamp earns its keep.
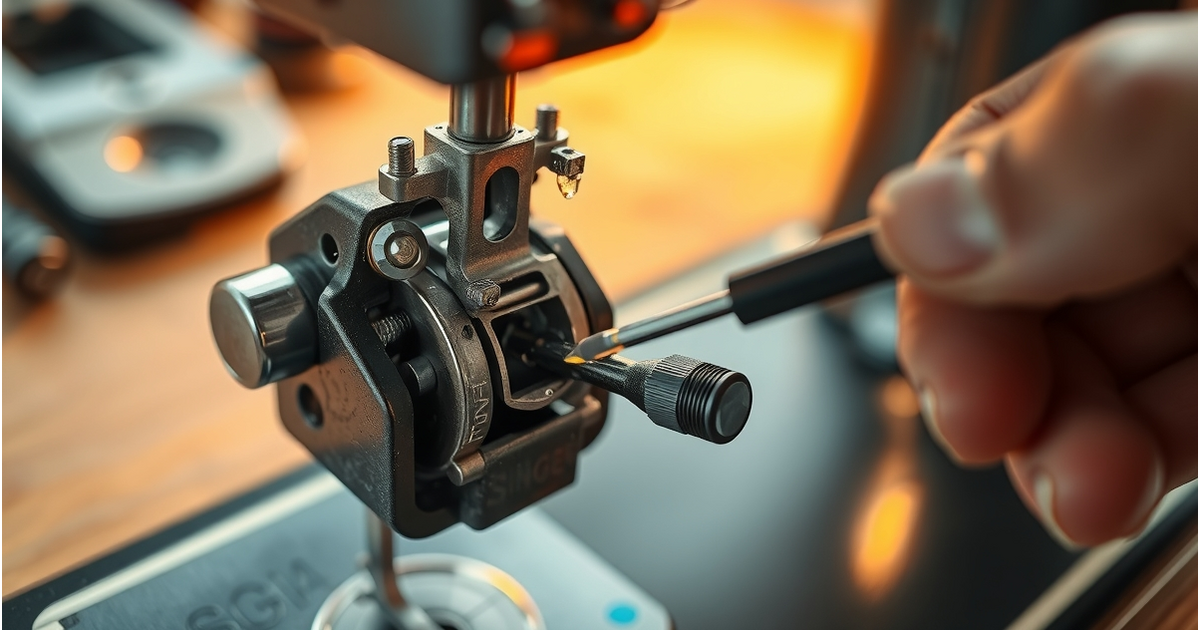
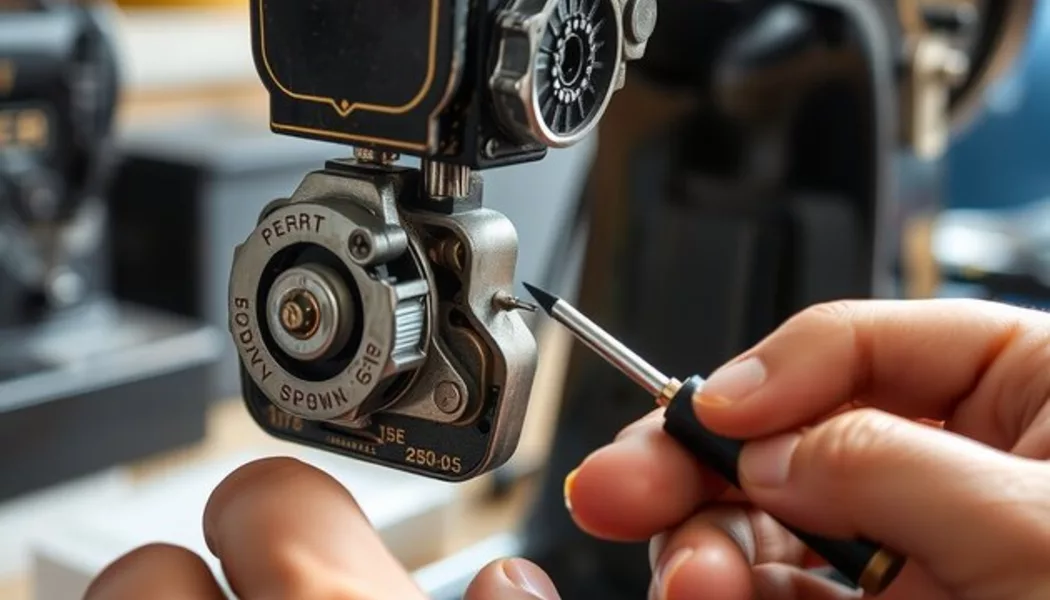
Locate the needle bar adjustment screw. On the Bernina 580, this is a small screw on the side of the needle bar casting, typically positioned on the left side of the housing below the presser foot lever. It may have a Phillips slot or a small hex head. If you’re uncertain, consult the Bernina 580 service manual diagram — the screw you want controls lateral (side-to-side) position, not vertical height.
A note before you touch it: If this screw is stuck and won’t turn, apply a single drop of light penetrating oil and wait five minutes. Do not force it. A stripped screw means a technician visit.
Understanding the adjustment:
- Each 1/8-turn of the screw moves the needle approximately 0.5mm laterally.
- You’re aiming to center the needle in the presser foot hole — equal clearance on both sides.
- This is essentially the same micro-adjustment principle used in Singer 99K timing adjustment — small, precise movements where patience beats force every time.
Making the adjustment:
- Note the current screw position before touching it (a tiny piece of tape as a reference mark helps).
- Slowly rotate the hand wheel by hand while watching the needle in the mirror.
- If the needle drifts toward the presser foot on the right side → turn the adjustment screw counterclockwise by 1/8 turn.
- If it drifts left → turn clockwise by 1/8 turn.
- After each adjustment, hand-rotate the wheel two to three full cycles and observe.
- Repeat until the needle travels through the dead center of the presser foot hole with equal space visible on both sides.
Take your time here. This isn’t a task to rush. A half-dozen 1/8-turn adjustments and you’ll have it dialed in.
Step 4: Full Manual Test Before Powering On
This is the safety checkpoint. Do not skip it.
With the bobbin case still removed, rotate the hand wheel slowly through five to ten complete stitch cycles. If your 580 has zigzag capability, also rotate through the full stitch-width range — from narrow to wide — while watching the needle path.
Listen for: Any scratching, grinding, clicking, or light ticking sound. These mean contact you haven’t found yet.
Feel for: Any resistance or slight “catch” sensation in the hand wheel. Should be completely smooth throughout.
Observe: Needle travels in a clean, centered path with no visible drift toward the foot or feed dog.
If you hear noise or feel resistance: Stop. Don’t power on. Re-check needle seating (Step 1) and presser foot alignment (Step 2). Something is still contacting something it shouldn’t.
If all is smooth and silent: Reinstall the bobbin case — twist it counterclockwise until it’s snug and the latch clicks into place. Close the bobbin door. Thread the machine and run a test stitch on scrap fabric at low speed first. Listen for the first few stitches before running at full speed.
When to Call a Pro
Most Bernina 580 needle clipping issues are DIY-fixable. But a few scenarios genuinely require a technician, and it’s important to know the difference before you spend more time on it.
Stop and call a Bernina technician if:
- The needle bar casting is visibly bent, cracked, or shows a gap where it shouldn’t. This requires replacement of the casting itself — not a home repair.
- The adjustment screw spins freely without moving the bar, or won’t tighten and hold. That’s a stripped thread — a tech will re-tap it or replace the casting.
- You’ve worked through all four steps twice, the needle is correctly seated, the presser foot is undamaged, and the bar appears centered — but clipping still happens. At this point, there’s likely a timing or internal calibration issue beyond a simple screw adjustment.
- The machine was in storage for 10+ years without use. Lubricants congeal, plastic parts get brittle, and a full professional cleaning and calibration is worth it before you attempt any adjustment.
The honest cost comparison:
| Option | Cost | Time | What You Get |
|---|---|---|---|
| DIY (this guide) | $0–$15 | 20–30 min | Immediate result, know your machine better |
| New presser foot only | $15–$25 | $0 repair time | Fixes worn foot; doesn’t fix bar alignment |
| Bernina dealer repair | $75–$150 | 5–10 business days | Full inspection, professional calibration |
Finding a certified technician: Search “Bernina 580 certified repair [your city]” or use the dealer locator at berninausaonline.com. Local quilt shops are also an underrated resource — they often know the best independent technicians in the area, sometimes better than the Bernina dealer network.
Preventive Maintenance
Fix it once, then keep it fixed. This routine takes about five minutes per session and will dramatically reduce needle clipping going forward.
Weekly — Before Every Project
Inspect your needle under bright light or the magnifying lamp. Bent tip? Even slightly? Replace it. A fresh needle costs $0.25–$0.50 and prevents the most common cause of clipping. This one habit alone is worth more than any other maintenance step.
Check needle clamp tightness with a gentle wiggle. Takes three seconds.
Monthly — Every 5 to 10 Hours of Use
Clean the needle area and the presser bar channel with a soft brush. A stiff toothbrush works well — get into the crevices around the needle bar and remove the lint and thread bits that pack in there over time. These accumulations can subtly shift the needle path.
Visually inspect the presser foot underside for any new wear grooves. Catching early scoring means you can replace the foot before it damages the needle bar.
Rotate the hand wheel slowly by hand ten times, listening for any new sounds. If something changed, you’ll hear it before you feel it in the stitch.
Quarterly — Every 3 Months or 20+ Hours
Do a thorough presser foot inspection. Look carefully for any groove development, hairline cracks, or surface wear.
Apply a single drop of quality sewing machine oil to the needle bar and presser bar. One drop — not a puddle. Use Sewing Machine Oil formulated specifically for sewing machines; WD-40, 3-in-1, and generic machine oils can damage the plastic bushings and leave gummy residue. Apply the oil, then rotate the hand wheel slowly ten times to distribute it.
Run the full hand-wheel test while listening for any new resistance.
Annually
If you’re sewing regularly — ten or more hours per month — take the machine to a certified Bernina technician for a full inspection and cleaning once a year. A professional service catches wear and calibration drift that you won’t spot at home. Think of it as the difference between checking your own oil and getting a full service: both matter, at different intervals.
Frequently Asked Questions
Can I use non-Schmetz needles on a Bernina 580?
The Bernina 580 uses standard 15×1 system needles, so other brands will physically fit. That said, needle quality and tolerance vary significantly. Schmetz, Organ, and Needles & Things are all reliable brands that manufacture to consistent specs. Avoid ultra-cheap needles — they’re often slightly off-gauge, which shifts the clearance with the presser foot just enough to cause clipping. For a machine as precise as the 580, stick with Schmetz as your default.
I’ve done all four steps and my Bernina 580 is still clipping needles — what now?
Re-check three things in order: (1) Is the needle fully seated with the flat side facing back? Even a fraction of a millimeter off can cause clipping. (2) Is the presser foot firmly installed and completely undamaged — no groove, no burr? (3) Did you adjust the needle bar screw in the correct direction for the drift you observed? If all three check out and it’s still clipping, the needle bar casting itself may be bent internally — something that doesn’t show up visually. At that point, contact a Bernina-certified technician. You’ve already done the diagnostic work; tell them exactly what you’ve ruled out.
Is a Bernina 580 worth repairing, or should I just buy a new machine?
Absolutely worth repairing. The 580 is a workhorse — Bernina built this model to last 20+ years with proper care, and machines from the 1990s and early 2000s regularly outlast machines made today. A needle bar adjustment costs you 20 minutes and nothing. Even if the needle bar casting needs replacement, a Bernina technician can source OEM parts from the model’s production run, and you’re still looking at well under the cost of a comparable new machine. Don’t give up on it.
Where can I buy Bernina 580 replacement parts?
For consumables like presser feet, bobbins, and needles: Amazon, Etsy, and specialty sewing suppliers all carry compatible parts. Search specifically for “Bernina 580 presser foot” rather than generic Bernina parts — the 580 uses specific shank dimensions. For internal parts (cam stacks, timing belts, needle bar castings), contact a Bernina dealer directly or use your machine’s serial number to confirm compatibility. Bernina’s dealer network can order OEM parts even for discontinued models. Independent repair techs often have sourcing contacts too.
How often should I replace my sewing machine needles?
If you sew regularly — say, ten or more hours a week — replace needles every one to two weeks, or after finishing each major project. Needles dull faster on thick or abrasive fabrics like denim, canvas, and vinyl. Here’s the mental model I use: a needle is the cheapest part in the entire sewing system. Replacing it every few uses is far cheaper than diagnosing the clipping, skipped stitches, and puckering that a dull or bent needle causes. When in doubt, use a fresh one.
Can needle clipping permanently damage my Bernina 580?
One or two clipping incidents — no, probably no lasting damage. Repeated clipping over weeks or months is a different story. Sustained metal-on-metal contact scores the presser foot, gradually nicks the feed dog, and can eventually damage the needle bar casting itself. This is exactly why it’s worth fixing the first time you notice it rather than working around it. A $0.50 needle and 20 minutes now, versus $75–$150 in repair costs later.
Conclusion: Your Bernina 580 Is Worth Keeping
If you’ve followed this guide, you now know exactly how to diagnose and execute a bernina 580 needle clipping fix in four steps — and you’ve done it in about 20 minutes, for $0–$15. No dealer, no waiting, no steep repair bill.
The Bernina 580 is a quality machine. It’s specific enough that generic sewing machine advice often doesn’t apply — and specific enough that when you learn its quirks, you can keep it running indefinitely. Needle bar alignment drift is one of those quirks. Now you know how to fix it, and more importantly, how to catch it early with the weekly and monthly maintenance checks.
Share how it went in the comments below — did re-seating the needle do it? Did you need to adjust the bar screw? Your feedback genuinely helps other 580 owners who land on this page with the same problem.
And bookmark this guide. Needle clipping on the 580 can recur — especially if the adjustment screw loosens again over time. Having this reference handy means a 20-minute fix stays a 20-minute fix, every time.
Related reading:
- How to Oil a Vintage Sewing Machine Without Damaging It — the full lubrication guide for keeping your machine running smoothly
- Singer 99K Timing Adjustment — detailed calibration walkthrough if you want to understand needle bar mechanics more deeply
- Pfaff 130 Sewing Machine Repair — if you have other vintage machines in your collection that need attention
If you’ve completed all four steps and clipping persists, a certified Bernina technician can take it from here. You’ve already ruled out the most common causes — that’s valuable. Tell them exactly what you checked and what you adjusted, and they’ll have a head start on finding the underlying issue.