
How to Remove Fungus from Vintage Camera Lenses: Complete DIY Guide
How to Remove Fungus from Vintage Camera Lenses: Complete DIY Guide
Meta Description: Master fungus removal on vintage camera lenses. Step-by-step guides for Canon FD, Pentax M42, Nikon. Tools needed & common mistakes to avoid.
Slug: how-to-remove-fungus-from-vintage-camera-lens
You just scored a Canon FD 50mm f/1.4 at a flea market for $15. Beautiful glass, smooth focus ring, aperture blades that snap open and closed like they should. Then you hold it up to the light and see it — a faint cobweb pattern spreading across the rear element. Your heart sinks a little. That’s fungus. And now you’re wondering if you just wasted $15 or found a $15 lens worth saving.
Spoiler: you almost certainly found a lens worth saving.
Removing fungus from a vintage camera lens involves carefully disassembling the rear lens group, cleaning the affected surfaces with distilled water and lens tissue, and allowing the lens to air-dry completely before reassembly. Most DIY removals take 1–2 hours and cost under $40 in supplies. Success comes down to one thing: whether the fungus is on an accessible surface or trapped inside cemented elements you can’t separate.
This guide walks you through the full process — diagnosis, tools, seven detailed steps, model-specific tips for Canon FD, Pentax M42, and Nikon F-mount lenses, and an honest look at when to stop and call a professional. No overselling DIY as a magic fix. Just what actually works.
Is It Fungus? How to Diagnose Your Lens Problem
Before you pick up a spanner wrench, confirm what you’re actually dealing with. Fungus, dust, and oil haze look similar at a glance but require completely different approaches.
Fungus vs. Dust vs. Oil Haze: How to Tell the Difference
Hold the lens up to a bright light source — a lamp or window works — and tilt it at different angles. Here’s what to look for:
Fungus appears as white or gray spots, wispy threads, or a cobweb-like pattern. The key tell: it doesn’t move when you tilt the lens. Under a 5x or 10x magnifying glass, fungus shows branching, organic patterns — it genuinely looks like tiny mold (because it is). The usual culprits are Aspergillus and Penicillium species, both common in humid storage environments.
Dust is individual particles that shift freely when you tilt the lens. Random, unconnected, floating.
Oil haze is a uniform, greasy cloudiness — usually on lens surfaces near the aperture blades if old lubricant has migrated. It’s consistent across the element, not spotty or branched.
If you see a fixed branching pattern, you’ve got fungus. Now the real question: can you fix it yourself?
Can I Fix This Myself? The DIY Safety Decision Tree
The short answer is: probably yes, with two important exceptions.
Go ahead and DIY if: fungus is on the outer surface of the rear lens element. This is by far the most common location — and the most accessible. You unscrew the rear group, clean the surface, reassemble.
Proceed with caution if: fungus appears to be on a middle element that requires deeper disassembly. It’s possible but requires more steps and more risk.
Stop and call a professional if: fungus is clearly inside a cemented element pair — those lens groups that are optically glued together. Separating cemented elements is irreversible. You will destroy the lens.
Model matters too. Canon FD lenses are remarkably DIY-friendly. Nikon F-mount pre-AF lenses are more complex. If you’ve never opened a lens before, starting with a Canon FD is the right call.
DIY vs. Professional Repair: The Cost Comparison
| DIY | Professional Repair | |
|---|---|---|
| Cost | $40–$60 (tools + supplies) | $150–$400 |
| Time | 1–2 hours active | 1–2 weeks turnaround |
| Risk | Low-to-medium (surface fungus) | Low (they know what they’re doing) |
| When it makes sense | Surface fungus, comfortable with tools | Thick internal fungus, cemented element damage |
If you own more than two lenses with fungus issues, the toolkit pays for itself on the second lens.
Tools & Materials: The Complete Fungus Removal Toolkit
Don’t start this job halfway equipped. Running out of distilled water mid-clean, or realizing you need a spanner wrench and don’t have one, means reassembling a wet lens. That’s worse than the fungus.
Essential Tools for Lens Disassembly
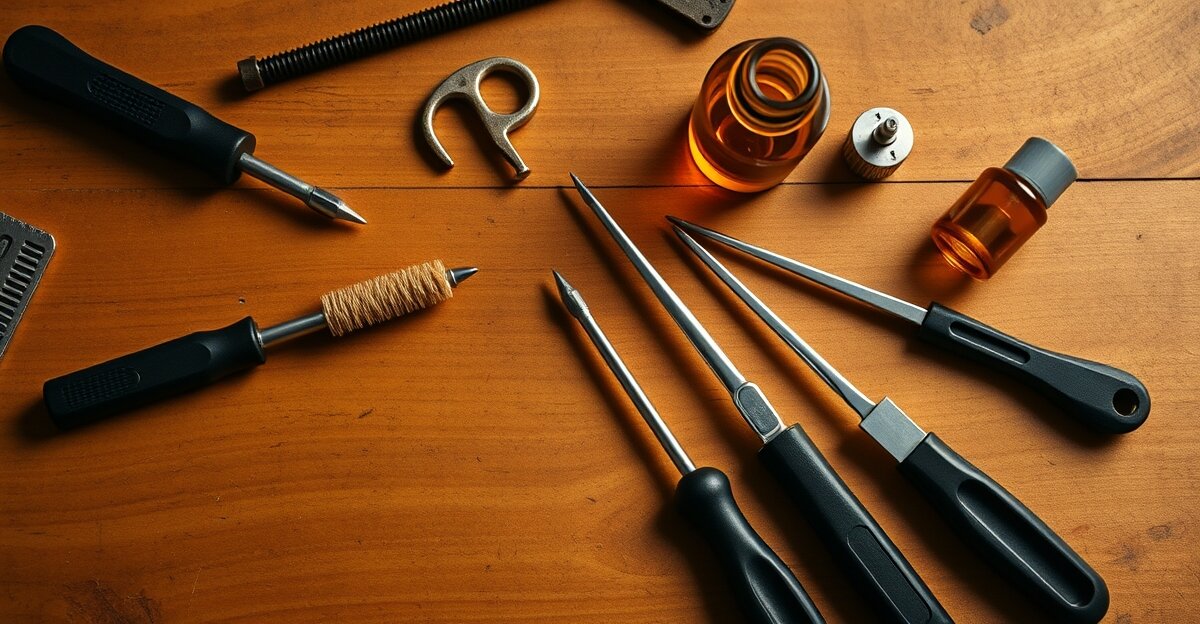
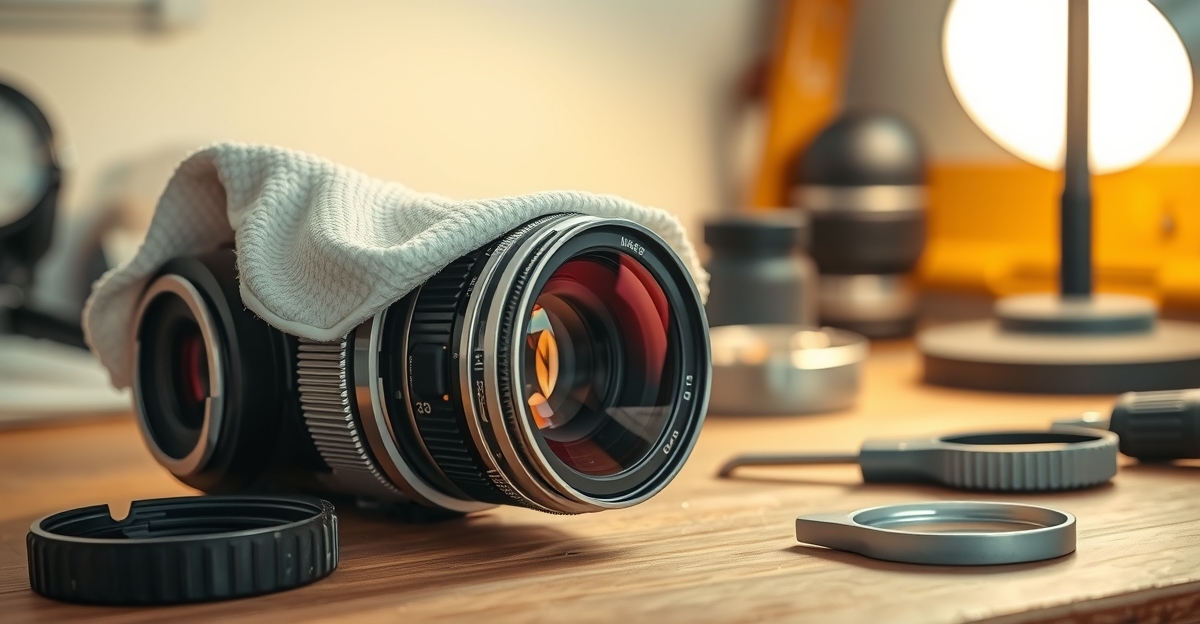
- Lens spanner wrench — the key tool. Sizes range from 55mm to 72mm; measure your rear element before buying. For Canon FD lenses, a 55–62mm spanner covers most models. Generic universal spanners work; a rubber grip wrench (the kind that looks like a jar opener) is a decent backup but less precise.
- Fine tweezers (watchmaker-grade) — for handling retaining rings and small springs without scratching anything. Anti-magnetic steel is ideal.
- Anti-static mat — protects lens elements from static discharge and gives you a clean, non-slip work surface. A folded clean cloth works in a pinch.
- LED work light or magnifier lamp — essential for seeing what you’re cleaning. Overhead lighting alone won’t cut it; you need angled illumination to spot residual fungus.
- 5x–10x magnifying glass — for inspecting progress and confirming the fungus is actually gone.
- Small metric screwdriver set — some lenses have tiny Phillips or flat-head screws holding retaining rings. You’ll need them.
Cleaning Supplies (The Critical Details)
This is where most people cut corners and regret it.
- Distilled water — not tap water. Tap water leaves calcium and mineral deposits on optical coatings. These deposits are harder to remove than the fungus. A one-litre bottle costs about $3 and lasts through many lens cleanings.
- 99% isopropyl alcohol — not the 70% rubbing alcohol from the medicine cabinet. That extra 30% water is the problem. 99% pure evaporates cleanly. Apply it to a swab first, never directly to the lens.
- Lens tissue or Zeiss Lens Wipes — softer than paper towels or household cloth. Paper fibres scratch optical coatings. Budget $2–$4 per box; one box handles a lot of cleaning sessions.
- Cotton swabs (medical-grade Q-tips) — smaller tips for precision work on specific fungus spots.
- Microfiber cloth (optical-grade) — for final exterior dust removal after reassembly.
Safety Gear & Environmental Precautions
Work in a clean, still room — not outdoors, not near a fan or air vent. Wear thin cotton gloves to keep fingerprint oils off glass surfaces. Good lighting isn’t just convenient; it’s a safety measure. You make fewer mistakes when you can clearly see what you’re doing.
How to Remove Fungus from Your Vintage Camera Lens: 7 Steps
Work through these in order. Don’t skip the drying phase — that’s the one that bites people.
Step 1: Inspect & Document Your Lens (10–15 minutes)
Take two or three photos of the lens in bright light before touching anything — front, rear, and a close-up of the affected area. You’ll reference these during reassembly.
Use your magnifying glass to map where the fungus lives: rear element surface, middle group, or possibly inside cemented elements (identifiable by the absence of a visible air gap between lens groups). Mark the retaining ring position with a dot of paint pen or a small piece of tape. Reassembly goes faster when you know exactly where things started.
Step 2: Remove the Rear Lens Group (20–30 minutes)
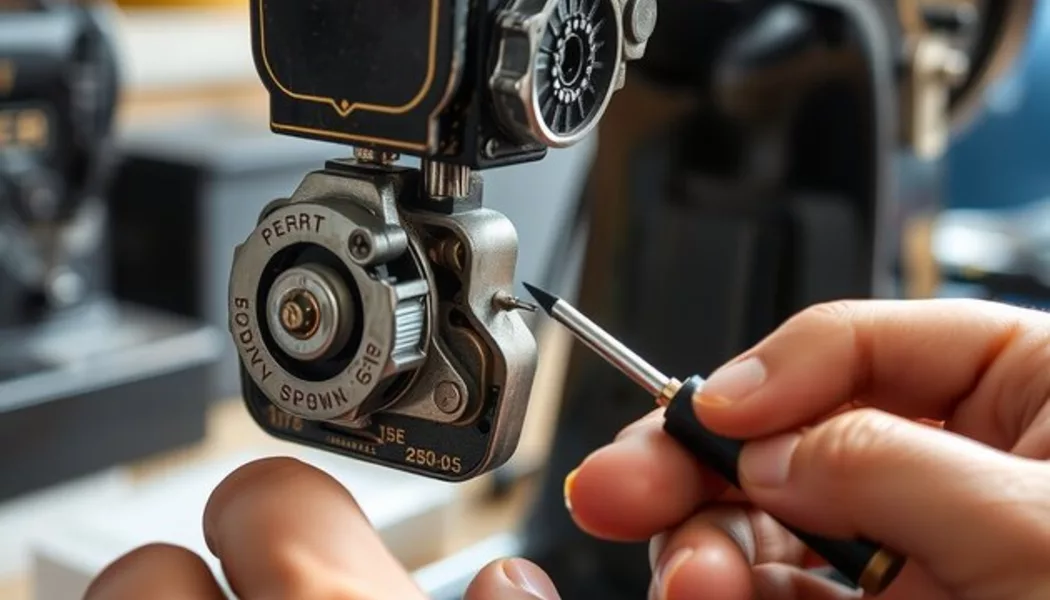
The rear group is typically held by a threaded retaining ring that unscrews counterclockwise. Position your spanner wrench pins in the retaining ring notches and apply steady, even pressure — if pins slip, stop and reposition. Don’t force it.
Note any internal springs, shims, or spacers as the group comes free and photograph each step. These parts are easy to lose. Set the rear element face-up on your anti-static mat once removed. Bare fingers stay off optical surfaces.
Step 3: Gentle Cleaning with Distilled Water (15–20 minutes)
Dampen a lens tissue or cotton swab — damp, not dripping. Work in circular motions from center outward, moving debris away from clean areas. Light, consistent pressure. For mild surface fungus, one careful pass often removes it completely.
Air-dry for 5–10 minutes between passes. Never pour water directly onto the element; control exactly how much liquid contacts the glass at all times.
Step 4: Detailed Cleaning with Isopropyl Alcohol (10–15 minutes)
Only if distilled water didn’t fully clear the fungus. Apply 99% isopropyl alcohol to a fresh swab — never directly to the glass. Use light circular pressure and let it evaporate naturally; don’t wipe dry. After two or three passes with no improvement, you’ve hit the limit of safe DIY. Stop here — pressing harder risks coating damage.
Step 5: The Critical Drying Phase (18–24 hours)
This is the step everyone wants to rush. Don’t.
Place the cleaned rear element on a clean lint-free cloth in a dry room. Position the element vertically or at a slight angle — you want gravity to help moisture move away from the glass surface, not pool against it.
Ideal conditions: room humidity below 50%, no direct sunlight, no air currents blowing across it. If you have a dehumidifier, run it. If you have a dedicated dry box for camera storage, even better — this is exactly the environment it was designed for.
Wait 18–24 hours. If you reassemble before the lens is completely dry, you trap moisture inside. That moisture creates the exact humid microclimate that fungus loves. You’ll see it return within weeks, and you’ll have to do this whole process again.
Step 6: Reassemble & Lubricate (15–20 minutes)
Blow clean compressed air through the interior before reassembly — check for any dust that settled during disassembly.
Apply a micro-thin layer of Molykote 111 (silicone grease) to the focusing helicoid. “Micro-thin” means a barely visible sheen; if you can see a bead, you’ve used too much. Over-lubrication attracts dust and causes sluggish focus.
Reassemble in reverse order. As the rear group threads in, smooth resistance is correct — grinding or gritty resistance means something’s misaligned; back it out and recheck. Hand-tight only on the retaining ring; tools overtighten and crack barrels.
Step 7: Test for Dust & Reflections (10–15 minutes)
Hold the assembled lens to a bright light source and look through the front element. Moving spots = dust (entered during reassembly; disassemble again if bothersome). Fixed spots = residual fungus or cement degradation — minor spots away from center rarely affect photos.
Check focus ring travel: smooth from close focus to infinity, no grinding. Shine a flashlight through the lens and project the image onto a white card — the fungus veil should be gone. Clear glass means you’re done.
Model-Specific Fungus Removal: Canon, Pentax & Nikon
Canon FD & FL Lenses: The Easiest Path to Fungus-Free Glass
Canon FD lenses are the best starting point for any first-time DIY lens cleaner. The focus ring slides off after a gentle wiggle — no screws. The rear group is then accessible via a threaded retaining ring. Spanner wrench size: 55–62mm covers the FD 50mm f/1.4, FD 24mm f/2.8, and FD 135mm f/2.5. Approach angle is approximately 60–70° from the optical axis, not perpendicular.
Fungus in Canon FD lenses sits almost exclusively on the rear coated surface, not inside cemented groups. Clean the outer rear face and you’re done.
One reassembly note: FD lenses have a small detent at infinity focus. You’ll feel a slight click as the rear group seats correctly. And hand-tight only — overtightening the rear group is how you crack a perfectly good barrel.
Pentax M42 Mount Lenses: Respect the Cemented Elements
Pentax M42 glass — Super Takumars, SMC Pentax, early Asahi lenses — requires removing an internal retaining ring before the rear group is accessible. It’s threaded and located just inside the rear opening; use a smaller spanner than you’d use for Canon.
The critical warning: many M42 lenses (the Super Takumar 50mm f/1.4 especially) have rear cemented pairs where fungus develops on the inner interface. Do not attempt to separate cemented elements. Clean only the outer surface of the last accessible air-glass interface — the very back face. That handles most M42 fungus without risking anything irreversible.
Spanner wrench angle matters here more than with Canon: the Pentax design requires roughly 45° approach. Perpendicular pressure causes slipping and damages the retaining ring notches.
Nikon F-Mount Pre-AF Lenses: Proceed with Caution
Don’t start here if this is your first disassembly. The Nikkor 50mm f/2 Ai and Nikkor 35mm f/2 Ai-S are beautiful lenses, but the rear group uses internal springs and retaining mechanisms that are significantly fiddlier than Canon FD. Misaligned internal groups affect focus accuracy.
Before opening anything, test the lens on a camera body. Nikon F-mount fungus is often cosmetic — if images still look sharp and contrasty, you have a genuine case for leaving it alone or paying a pro. Professional cleaning for a Nikkor runs $150–$200 and is frequently worth it.
If you proceed: photograph every step obsessively. Springs pop free and disappear. Work slowly, work over your mat, and don’t force anything.
Also confirm you’re actually dealing with fungus and not oil migration. Old aperture blade lubricant creates a similar haze on many Nikkors. Check the aperture blades — shiny or oily? That’s a separate repair with a different approach.
Common Mistakes & How to Avoid Them
Separating cemented elements. If you encounter resistance that feels like “this physically won’t move,” stop. You’ve hit a cemented pair. Forcing it destroys the optical formula. Clean the outer surface and leave the cemented interface alone.
Using tap water. Calcium and mineral deposits are harder to remove than the fungus. Distilled water costs $3. Use it.
Rushing the drying phase. Reassembling a wet lens traps moisture inside — exactly what grew the fungus originally. You’ll see it return in two to four weeks. Wait the full 18–24 hours.
Over-lubricating the helicoid. A thick grease application attracts dust and slows the focus ring. A barely-visible sheen is correct.
When Fungus Isn’t Worth the DIY Effort
Some situations call for professional help:
- Fungus inside a cemented element pair — visible but inaccessible. A professional with ultrasonic equipment can sometimes address this without separation.
- Fungus covering more than 20–30% of the interior with noticeable image degradation.
- You’ve opened the lens and already feel out of your depth. Close it back up; no shame in that.
- The lens has significant collector or resale value. A botched DIY repair destroys what professional cleaning preserves.
If you’re also dealing with a sticky shutter on the camera body, check our guide on the Canon AE-1 Program sticky shutter button repair for a complementary fix. Professional cleaning runs $150–$400 — real money, but recoverable. A cracked barrel or separated cemented pair is not.
Prevent Future Fungus: Storage & Environmental Tips
Cleaning the fungus is fixing the symptom. The root cause is humidity — specifically, storing lenses in environments above 60% relative humidity for extended periods.
Humidity Control Is Everything
Fungi like Aspergillus and Penicillium grow in warm, humid conditions. Camera storage areas — closets, drawers, camera bags left in cars — can hit 70–80% relative humidity during summer months. That’s a fungus incubator.
The fix is simple: silica gel. A basic set of reusable silica gel packs ($5–$10) tucked into your lens storage container drops ambient humidity well below the fungus threshold. Recharge the packs in a low oven (around 120°C / 250°F) every two to three months, or when the indicating crystals change color.
The Ideal Storage Setup
An airtight container or dedicated camera dry box with silica gel inside is the gold standard. A sealed Pelican case or even a large zip-lock bag with a silica pack works. The key is sealing out humid ambient air.
Keep storage away from windows — UV light degrades optical coatings over time, independent of the fungus issue. Basements are generally better than attics (more stable temperature and humidity). Always keep lens caps on, both front and rear.
If you’re in a high-humidity climate or near the coast, consider a dedicated electronic dry cabinet — they’re popular in Asian photography communities for exactly this reason and have come down significantly in price. The precision maintenance philosophy applies here just as much as it does to replacing a watch mainspring — prevention costs far less than repair.
Environmental Factors to Monitor
High-humidity climates need active intervention. A small dehumidifier in your gear storage area makes a real difference. Coastal environments add salt air that accelerates barrel corrosion — refresh silica gel more frequently near the ocean. Check storage areas periodically for hidden water leaks; a slow pipe leak can push humidity from 45% to 75% in a few weeks, enough to restart a fungus problem in previously clean glass.
Frequently Asked Questions
Will Fungus Come Back After I Clean It?
Not if you store the lens properly. Fungus is environmental, not self-replicating once removed from favorable conditions. Clean it thoroughly, dry it completely, and store it in a low-humidity environment with silica gel — and it stays gone. If fungus returns, your storage conditions are too humid. Upgrade to an airtight container with fresh silica packs.
Does Fungus Affect Photos If It’s Only on the Rear Element?
Rear surface fungus is mostly cosmetic. If it’s sitting on the outer air-glass interface of the last rear element, it rarely degrades image quality in a meaningful way. You might see a very subtle loss of contrast in high-contrast backlit situations, but standard shooting won’t show it. If the fungus is inside a cemented rear group (between the glued surfaces), it may cause a more visible haze. Test by looking through the lens at a bright light — a clear, sharp image means rear fungus is safe to ignore or remove at your leisure.
Can I Use Rubbing Alcohol Instead of Distilled Water?
Start with distilled water — it’s gentler and handles most surface fungus effectively. If you need alcohol, use 99% isopropyl, not 70% rubbing alcohol. The 70% formulation has too much water and can leave residue on optical coatings. Apply either liquid to a swab first; never apply directly to the glass. And avoid household glass cleaner entirely — products like Windex contain ammonia and other chemicals that attack optical coatings.
What’s the Difference Between Fungus and Dust Inside a Lens?
Tilt the lens and watch. Dust moves; fungus doesn’t. Dust appears as individual random particles floating freely inside the lens barrel. Fungus is fixed to a surface and shows as white or gray spots with organic branching patterns — the “cobweb” look. Under magnification, fungus has a distinctly biological, branching structure. Dust looks like… dust. Both affect image quality if severe enough, but they require completely different fixes.
If Fungus Is Inside Cemented Elements, Can I Still Fix It?
Not safely at home. Cemented element pairs are optically bonded — separating them destroys the carefully calculated optical interface. The only legitimate home approach is cleaning the outer surface of the last accessible element and accepting that internal cemented fungus is a professional repair (ultrasonic cleaning, or in extreme cases, re-cementing by a specialist). For most lenses, thick cemented-element fungus means sending it out or accepting the lens as a parts donor. —
You’ve Got This — Your Vintage Lens Is Worth the Effort
Fungus removal is a 1–2 hour project that saves you $100–$300 and extends the life of genuinely excellent glass. The tools cost around $40. The process, once you’ve done it once, becomes straightforward. Most vintage lenses — especially Canon FD and Pentax M42 glass — are well within DIY territory for anyone comfortable with careful, patient handwork.
Remember the two key rules: don’t force anything that won’t move (cemented elements), and don’t rush the drying phase. Those two mistakes account for nearly every DIY lens cleaning failure I’ve seen.
If you’re also working through other vintage camera repairs, our guide on the Canon AE-1 Program sticky shutter button covers the mechanical side of restoring film cameras — a natural companion to this optical cleanup. And for general precision maintenance philosophy that applies to everything from lenses to watches, the Seiko 5 mainspring guide covers tools, patience, and the right-to-repair mindset in depth.
Now get that lens cleaned. Show us your before-and-after in the comments — we’d genuinely love to see what you rescued.