

Nikon FM2 Mirror Stuck Repair: Step-by-Step Prism & Mirror Fix
You fire the shutter on your FM2, and the mirror comes back sluggishly—or doesn’t flip back at all. The viewfinder stays black. You fire again. Nothing. That sinking feeling is familiar to anyone who has picked up a neglected film camera from a shelf or a flea market.
Nikon FM2 mirror stuck repair is something you can do yourself at home. The mirror gets stuck because decades-old lubricant hardens around the pivot pin, trapping the mirror in place or slowing its return. Dust compounding on that old grease makes it worse. The fix takes patience and the right tools—but you don’t need professional service. A good CLA (clean, lube, adjust) for an FM2 mirror at a camera shop runs $150–300. You can do this in an afternoon for under $20.
What Is the Nikon FM2 Mirror and Why It Matters
The Nikon FM2 was introduced in 1982 and ran in production through 2001, with the FM2n variant (featuring a titanium honeycomb shutter) taking over from 1984 onward. These cameras are entirely mechanical—no batteries required for the shutter to fire—which is exactly why people still shoot them today.
Inside the mirror box, a front-silvered curved mirror sits on a pivot pin with a small return spring on each side. When you press the shutter, the mirror swings up into the pentaprism housing, the shutter fires, and the springs pull the mirror back down to its resting position. The whole sequence happens in milliseconds.
The pentaprism—a five-sided prism of optical glass—sits directly above the mirror and redirects the image to your eye through the viewfinder eyepiece. If the mirror return is sluggish, your viewfinder image delays. If the mirror stays up, you’re shooting blind. Either way, you can’t confirm focus or composition between shots.
Your FM2 is worth fixing. These cameras handle rough conditions, shoot at 1/4000s mechanical shutter speeds, and last another 40 years with proper care. A stuck mirror is not a death sentence.
Common Causes: Why FM2 Mirrors Get Stuck
Lubricant Breakdown and Dust Accumulation
The original factory lubricant on the mirror pivot pin was applied in the early 1980s. After 40+ years, that grease has either dried into a hard varnish or turned into a sticky gum. Either state binds the pivot.
Dust accumulates on the hardened lubricant and acts as an abrasive or additional binding agent. Film camera mirror stuck situations are almost always lubricant-related when the camera has been sitting unused for years—the mechanism simply seizes. On the FM2, the problem is compounded because the mirror pivot channel is a tight tolerance fit. Even a thin film of degraded oil is enough to create enough resistance to slow the return spring.
Prism Separation and Optical Cement Degradation
This is the other culprit, and it’s different from the pivot issue. Nikon FM2 prism separation happens when the optical cement bonding the five faces of the pentaprism breaks down. The signs: a rainbow shimmer or “oil slick” appearance inside the viewfinder, or dark patches at the edges of your viewfinder image.
Prism cement degradation is irreversible—no amount of cleaning fixes a separated prism. But the good news is that contamination around the outside of the prism housing (dust on the mirror-facing surface of the prism, or on the focusing screen) is very cleanable. Many “FM2 prism problems” that look severe are actually just dust on the screen.
Symptoms: How to Know Your FM2 Mirror Needs Repair
If you’re reading this with an FM2 in your hands, here’s what you’re probably seeing:
- Mirror locks up after firing: You press the shutter and the viewfinder stays black. The mirror is stuck in the up position.
- Delayed mirror return: The mirror comes back, but noticeably slowly—you hear a soft thud rather than a crisp snap.
- Intermittent black frames on film: Some frames come out fully exposed, others are partially or fully black. This often means the mirror is returning too slowly and interfering with the shutter curtain travel.
- Viewfinder flare or dark patches: Unrelated to mirror return speed, but points to FM2 pentaprism cleaning being needed.
The ‘Sluggish’ Mirror vs. Completely Stuck
These are different problems with the same cause, but they need different approaches. A sluggish mirror—one that returns in about half a second instead of instantly—means the pivot is partially gummed up. A complete stuck SLR mirror fix involves the same cleaning process, but you’ll likely need to manually free the mirror before you can even begin disassembly. Use a soft wooden toothpick to gently nudge the mirror from below, never from the front silvered surface. Don’t force it. If the mirror feels welded in place, heat isn’t your friend here—just patience and the correct tools.
Tools You’ll Need: The Complete FM2 Mirror Repair Kit
Don’t improvise this. The FM2 mirror box has components that scratch easily and springs that fly across the room if you’re not ready.
Essential tools:
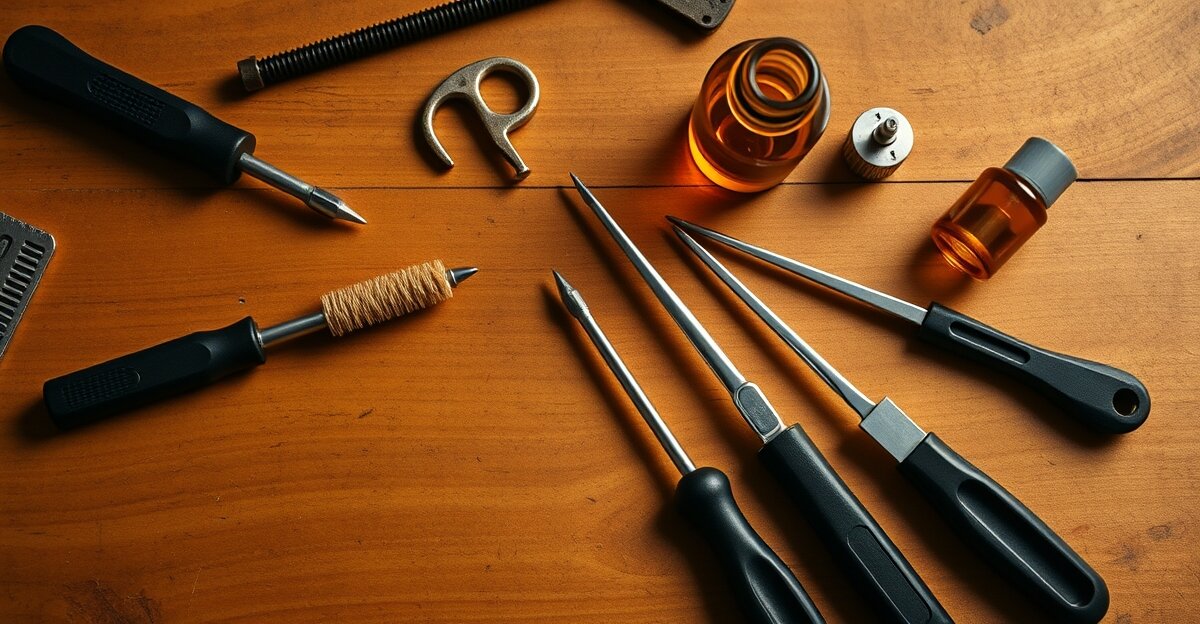
- Jeweler’s screwdriver set — Wiha or PB Swiss are worth the price. The FM2 uses JIS (Japanese Industrial Standard) screws, not Phillips. A standard Phillips driver will strip the heads. Get a proper JIS set.
- Isopropyl alcohol, 90%+ — 70% drugstore IPA has too much water. You want 90% or higher for optical cleaning.
- Optical-grade lens cleaning solution — Zeiss lens cleaner or equivalent. For the mirror surface only.
- Lint-free microfiber cloths — Cut into small pieces, roughly 2cm squares. Never use paper towels.
- Precision tweezers — Blunt-tip, stainless. Useful for springs and pivot pin removal.
- Small soft-bristle brush — An anti-static brush (Kinetronics StaticWisk or similar) for dusting the mirror surface and prism housing.
- Needle-nose pliers — Small, with smooth jaws. Wrap the tips with electrical tape to prevent scratching.
- Small containers — Ice cube trays or watchmaker’s parts trays for organizing screws and springs. Every screw you drop is a screw you’re searching for on the floor.
- Desk lamp with magnification — Optivisor or a simple magnifying glass on a stand. The FM2 mirror pivot is 1.5mm wide.
Avoid these: Compressed air cans (the propellant leaves residue and the pressure can dislodge prism cement), harsh chemicals like acetone or contact cleaner on optical surfaces, and any metal tool touching the front-silvered mirror surface.
Step-by-Step: Disassembly and Mirror Inspection
Step 1: Prepare Your Workspace and Disassemble the Top Plate
- Remove the lens, battery, and film (if any). Lock the mirror up manually using the self-timer lever if the mirror is in the down position.
- Work on a clean, light-colored surface—a white cutting mat is ideal. Springs and pivot pins are small and dark.
- Remove the top plate: unscrew the rewind knob (hold the fork inside the film chamber with a small flathead), then remove the accessory shoe screws (two on either side), and the shutter speed dial assembly. The FM2 top plate lifts off cleanly once these are removed. Set all screws in labeled containers—top plate screws are slightly different lengths.
- With the top plate off, you’ll see the pentaprism housing sitting directly above the mirror box.
Step 2: Identify and Remove the Mirror Pivot Pin
- Look into the mirror box from the front (lens mount side). The mirror pivot pin runs horizontally across the bottom of the mirror, held in place by the mirror box walls on each side.
- On the FM2 and FM2n, the pivot pin is retained by a small C-clip or a press-fit—not threaded. Use your precision tweezers to locate the retention clip on the right side of the mirror box (camera’s right, your left when facing the lens mount).
- Gently squeeze the C-clip with your tweezers and slide the pivot pin left to free it. Do this slowly. The return springs are under slight tension and will jump if you move quickly.
- Place the pivot pin immediately in a labeled container. Losing this part means ordering from a Nikon parts supplier—not impossible, but a delay you don’t want.
Step 3: Lift Out the Mirror and Springs
- With the pivot pin removed, the mirror is now loose in its housing. It’s held only by the return springs on each side.
- Note the spring orientation before you touch anything. Photograph it with your phone. The springs hook into small posts on the mirror frame—the hook direction matters enormously for reassembly.
- Using your tweezers, unhook one spring at a time from its post, then lift the mirror straight up and out of the mirror box. Set it face-up on a clean microfiber cloth.
Step 4: Inspect the Mirror Box Interior
With the mirror removed, look inside the mirror box with your magnifying lamp. You’re checking for:
- Dark varnish or sticky residue on the pivot channel walls — this is your culprit.
- Loose foam or mirror damper material — the black foam around the mirror box perimeter can crumble on older cameras. If it’s disintegrating, you’ll need replacement foam tape before reassembly.
- Debris on the focusing screen — dust on the screen below the prism looks like “dust in the viewfinder” and is common on cameras that have been stored open.
Cleaning the Mirror and Springs
Removing Old Oil and Dust from the Mirror Pivot
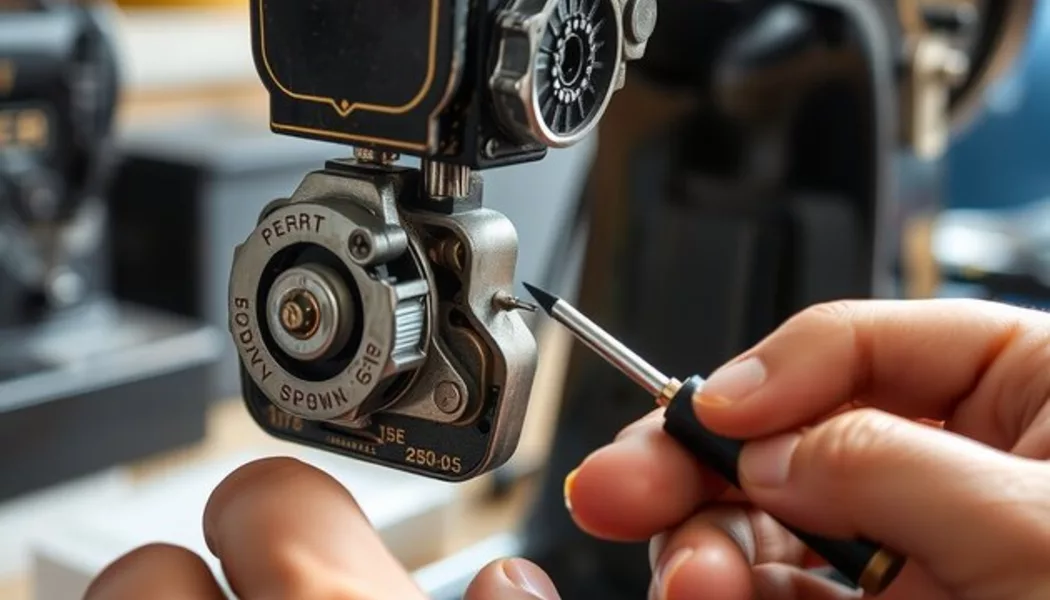
The pivot channel is where you’ll find the hardened lubricant causing your vintage camera mirror repair problem. Dip a wooden toothpick in IPA (90%+) and run it along the inside of the pivot channel walls. You’re not scrubbing—you’re dissolving. Work the toothpick back and forth gently. The old lubricant will soften and lift onto the toothpick.
Follow with a cotton bud (Q-tip) dampened—not soaked—in IPA. Wipe the channel walls, then use a dry cotton bud to remove residue. Repeat until the cotton bud comes away clean. This typically takes 3-4 passes.
Do not re-lubricate the pivot. This is important: the FM2 mirror pivot is designed to run dry after cleaning. Any new lubricant—even a tiny amount—will migrate, attract dust, and re-create the same problem in another 10–20 years. Camera mirror cleaning FM2 guides that recommend re-lubing the pivot are wrong. Leave it clean and dry.
Gentle Mirror Surface Cleaning
The FM2 uses a front-silvered mirror—the reflective coating is on the front surface, not protected by glass like a bathroom mirror. This means any abrasion will permanently damage it.
Apply one small drop of optical lens cleaning solution to a lint-free microfiber cloth piece. Wipe in a single direction—not circular—from the center out. One pass. Look at the mirror under your lamp. If dust remains, repeat with a fresh cloth section. Never press hard. Never use IPA directly on the mirror surface.
If the mirror has significant scratches or coating deterioration, a Nikon FM2n mirror replacement is your next step—replacement mirrors are available from Camera Quest or Micro Tools for around $15–25.
Degreasing the Return Springs
Drop each spring into a small container of IPA and let them soak for 2 minutes. Swirl gently, then remove with tweezers and set on a clean cloth to dry. Springs only need this treatment if they’re visibly oily—most of the time a single wipe-down with an IPA-dampened cloth is sufficient. Dry completely before reassembly.
Prism Cleaning Without Damaging Coatings
Removing Dust Inside the Prism Assembly
To access the prism area for FM2 pentaprism cleaning, you don’t need to remove the prism itself. With the top plate off, the prism housing is exposed. The focusing screen sits below the prism—it’s held in by a small retaining frame with two wire clips.
Use your anti-static brush to gently sweep the top surface of the focusing screen and the bottom face of the prism. Work with the brush angled so dust falls away from the prism, not into the mirror box. A single light pass is usually enough. If dust is compacted, use a corner of lint-free microfiber cloth barely dampened with IPA on the screen only—not on the prism glass itself.
Recognizing Prism Cement Damage (When to Stop)
Run your finger along the seams of the prism (with the top plate off, you can access the prism edges). Nikon FM2 prism separation shows as a visible gap or a change in the light reflection at the cement joint. Under your magnifying lamp, separated cement looks like a thin air gap with slight iridescence.
If you see separation: stop. Do not attempt to re-cement the prism yourself. The optical alignment is critical and requires an autocollimator to verify. This is professional repair territory. A separated pentaprism on an FM2 typically costs $80–150 to replace at a specialist camera repair shop, or you can source a used FM2 prism from a parts body for $20–40 on eBay.
Reassembly and Testing: Getting Your FM2 Mirror Working Again
Repositioning the Return Springs
- Refer to your phone photos from Step 3. The spring hooks must re-engage the same posts in the same orientation.
- Use tweezers to hook each spring onto its mirror frame post first—this is easier before the mirror is back in position.
- Hold the spring tension with one finger while positioning the mirror. Don’t let go until both springs are engaged.
Reinserting the Mirror and Pivot Pin
- Lower the mirror into the mirror box, aligning the pivot holes in the mirror frame with the pivot channel in the mirror box walls.
- Slide the pivot pin in from the left side (camera’s left). You’ll feel it pass through the mirror frame and into the opposite wall. The pin should slide smoothly—if it feels stiff, the mirror isn’t fully seated. Don’t force it.
- Re-engage the C-clip retention on the right side of the pivot pin. Press gently with your tweezers until you feel it click. Test that the pivot pin can’t be pulled out by hand—it should be firmly retained.
- Manually flip the mirror up and release it. It should snap back to position instantly with a crisp sound. If it’s still slow, the pivot channel may need another cleaning pass.
Testing Mirror Function Before Closing Up
Before replacing the top plate:
- Fire the shutter at 1/1000s and 1/250s. Watch the mirror return.
- Check that the mirror is sitting flat in its resting position—the bottom edge should be parallel to the base of the mirror box with no tilt.
- Look through the viewfinder with a lens attached. The image should be sharp edge to edge. If you see dust spots, do one more pass with the anti-static brush on the focusing screen.
- Fire 10 shots at different shutter speeds. No sticking, no slow returns? You’re done.
Replace the top plate in reverse order of disassembly. Torque the screws snug but not tight—the FM2’s top plate is aluminum and the threads strip easily if you over-tighten.
Common Mistakes to Avoid
Over-Lubrication Trap
This is the most common mistake in any stuck SLR mirror fix. People clean the pivot, feel like they should add something, and apply a tiny drop of sewing machine oil or clock oil. Don’t. Oil migrates. Within six months it’s on the mirror surface, on the focusing screen, and coating the inside of the pentaprism. Leave the pivot dry.
Spring Misalignment After Reassembly
If you reassemble without checking the spring hook direction from your photos, you’ll likely have one spring reversed. A reversed spring still holds the mirror down but with less tension—the mirror return will feel mushy instead of crisp. Take the photo. Check the photo. Save yourself a second disassembly.
Prism Pressure and Damage
When reinstalling the top plate, don’t overtighten the screws that contact the prism housing. The pentaprism is optical glass held by a felt-lined metal frame. Too much pressure from an over-tightened screw can crack the prism or cause internal stress fractures that only show up later as distortion in the viewfinder. Finger-tight, then a quarter turn.
When to Seek Professional Repair (and When You’re Good to Go)
DIY mirror repair is appropriate when the problem is dried lubricant, dust accumulation, or minor spring adjustment. These are the causes in 80%+ of FM2 mirror stuck cases.
Hand it off to a professional when you’re dealing with: prism cement separation (visible gap in prism seams), a bent or damaged pivot pin, or titanium shutter curtain misalignment (if your frames are coming out partially exposed and you’ve ruled out the mirror). For context on film camera lens issues that often get misattributed to the mirror, our guide on removing fungus from a camera lens covers the optical cleaning side in detail.
Professional Nikon CLA rates for FM2 mirror work run $150–300 depending on the technician. Greg Weber at Sover Wong (UK-based), and Garry Wheatley at Nippon Camera in the US are well-regarded for Nikon FM-series work. Turnaround is typically 2–4 weeks.
If you’re dealing with shutter issues alongside the mirror problem, this post on Pentax ME Super flash sync problems covers a similar shutter-timing diagnosis process that applies to FM2 troubleshooting.
Your FM2 mirror is repairable. With patience, the right tools, and attention to the detail—especially the spring orientation and the dry pivot—you can bring your camera back to life in an afternoon. The FM2 was built to be serviced. Nikon designed these cameras for decades of use, and the mechanical simplicity that makes them attractive to shooters today makes them very approachable for a careful hobbyist.
Have you repaired an FM2 mirror before? Share your tips in the comments below — especially if you’ve found a better source for replacement foam tape or pivot pins.
Frequently Asked Questions
Can I use WD-40 or other general lubricants?
No. WD-40 is a water displacer and solvent, not a lubricant—it will clean the pivot initially but leaves a residue that attracts dust. General oils like 3-in-1 or household machine oil are far too thick and will migrate onto your mirror and prism surfaces within weeks. The FM2 mirror pivot is designed to run completely dry after cleaning. If you feel you must lubricate, a tiny amount of synthetic PTFE-based watch oil (Moebius 9010) applied with a toothpick to the pivot ends only—not the channel—is the maximum intervention.
How long should this repair take?
For a first-timer, budget 2–3 hours. Most of that is the careful disassembly and the pivot cleaning passes. If you’ve done it before, 45–60 minutes is realistic. Don’t rush the top plate removal or spring handling.
What if I break something during disassembly?
The most commonly damaged part is the C-clip on the pivot pin—it can snap if you apply lateral force. A replacement pivot pin assembly can be sourced from Nikon FM2 parts bodies on eBay (search “Nikon FM2 parts” — bodies with shutter or lens damage often have perfect mirror mechanisms). The focusing screen retaining clips also bend easily; replacements are available from Screen-Line or Interfit.
Is this repair worth doing, or should I replace the camera?
Working FM2 bodies in good cosmetic condition sell for $200–350. A CLA at a shop costs $150–300. DIY mirror repair costs under $20 in supplies. The math strongly favors repair, especially since the FM2 is a mechanically superior camera that Nikon hasn’t made for 25 years. The only scenario where replacement makes more sense is if the prism is separated AND the shutter needs work AND there’s mirror box corrosion—that combination pushes you toward a parts-body swap rather than a full service.
Will my FM2 mirror return to factory-original speed?
Yes, if the root cause was lubricant breakdown. A clean, dry pivot with properly tensioned return springs will restore the mirror to its original snap-back speed. The Nikon FM2 mirror adjustment is primarily about clean mechanics—there’s no tension adjustment screw on the return spring. If the spring itself has lost tension (it’s been stretched or fatigued over decades), a replacement spring from a parts body will restore full speed.
Great content! Keep up the good work!