


Your Singer 99K Is Sewing Out of Time — Here’s the Exact Fix
Your Singer 99K sews beautifully for the first seam, then stitches skip on the second. You tighten the tension, swap the needle, rethread the entire machine — nothing helps. Before you spend $150 on a professional repair, try this: your machine almost certainly needs a Singer 99K timing adjustment. And it’s simpler than it sounds. Here’s the exact process, the tools you need (under $15), and a way to test your fix in under an hour.
A Singer 99K timing adjustment requires loosening the main timing gear set screw, rotating the gear 1–2 teeth at a time, then testing against three fabric weights. At the needle’s lowest point, the rotary hook tip should sit 1/32″–1/16″ above the needle eye — get that measurement right and your skipped-stitch problem disappears.
Skipped stitches aren’t just annoying. They break seams, waste fabric, and make you wonder if the machine is still worth using. The good news: the Singer 99K — introduced in 1953 as a portable, fully mechanical workhorse — uses a simple rotary hook system that responds well to DIY adjustment. No electronics, no proprietary tools. Just a screwdriver, good light, and patience. Like all vintage equipment restoration, the Singer 99K rewards patience and the right reference — see for the bigger picture of keeping old machines running.
For a broader look at what causes Singer 99K timing drift and how to decide if yours is a timing problem at all, see our full Singer 99K timing diagnosis guide. This post assumes you’ve already confirmed timing is the culprit — and you’re ready to fix it.
Is It Really a Timing Issue? Quick Test
Before you open the side panel, take sixty seconds to rule out the obvious. Most skipped stitches on a vintage Singer aren’t caused by timing — they’re caused by a dull or wrong-size needle.
Try a completely fresh needle first. Specifically, a Singer 2020 or 2045 size 70/10 or 80/12. If your stitches fix immediately, you’re done.
If you’re not sure which applies to your machine, check which of these matches:
- Stitches skip in random spots across all fabric weights — classic timing issue
- Stitches skip only on thick fabric — more likely a presser foot pressure or needle flex problem
- Loops visible on TOP of the fabric — needle is arriving too late for the hook; timing is off
- Loops visible on BOTTOM of the fabric — needle is arriving too early; timing is off in the other direction
- Needle bends or breaks immediately — needle insertion error, or hook is physically striking the needle
If you’re seeing loops — top or bottom — you have a timing problem. Keep reading.
Tools & Setup: Everything You Need (Under $15)
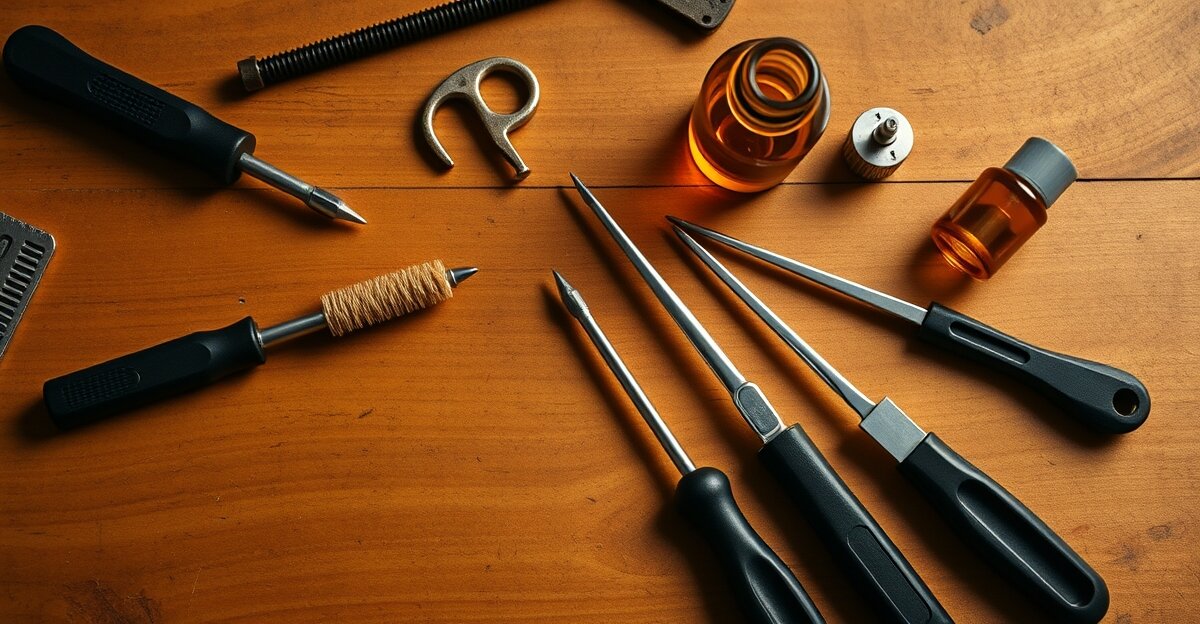
You don’t need a specialized repair kit for this job. Here’s what to gather:
Essential:
- Small flathead and Phillips screwdrivers, or a [AFFILIATE: precision-screwdriver-set] ($5–8)
- [AFFILIATE: adjustable-wrench] or needle-nose pliers for the gear set screw ($3–6)
- [AFFILIATE: led-headlamp] — you need both hands free and the machine interior is dark ($5–10, likely already owned)
- Fresh needle pack, size 70/10 — [AFFILIATE: singer-needle-pack] ($1–2)
- Scrap fabric in three weights: thin cotton (old pillowcase), medium muslin, and denim
Optional but genuinely helpful:
- [AFFILIATE: jewelers-loupe] — the timing marks on a 70-year-old machine can be nearly invisible ($5–8)
- [AFFILIATE: paint-pen] or masking tape with a marker — to recreate worn timing marks
- [AFFILIATE: sewing-machine-oil] — 1–2 drops after adjustment keeps the gears from drifting ($4–6)
Before you start: Unplug the machine. Put small screws in a cup as you remove them — a missing set screw on a 1953 machine is a real problem to source. Take a photo of the timing gear position before you touch anything.
Step 1–3: Locate Your Timing Marks (The Foundation)
The timing marks are your compass — they show where the needle and hook were perfectly synchronized at the factory. Adjust without them and you’re working blind.
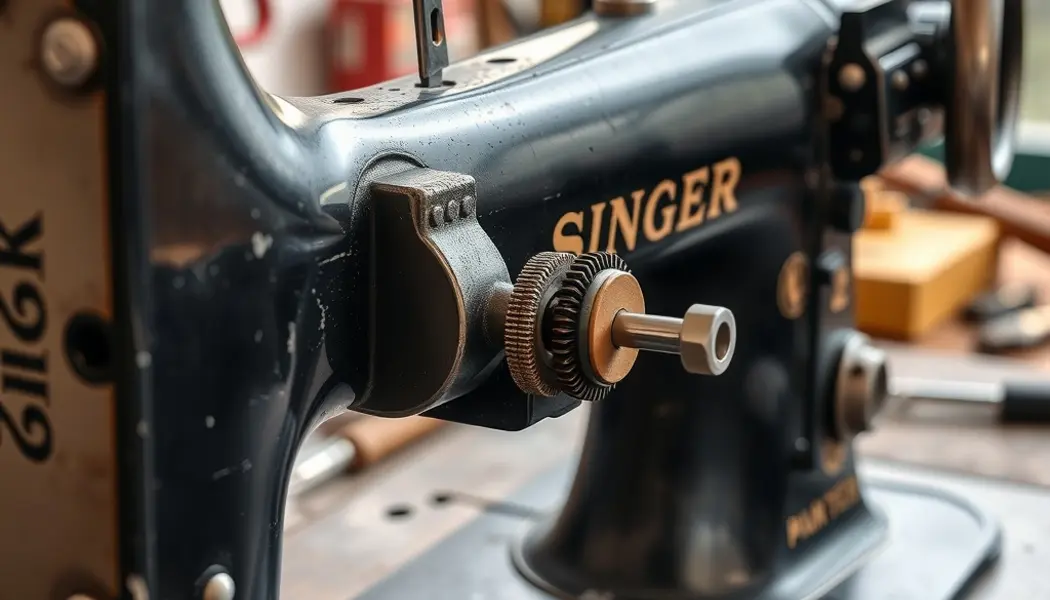
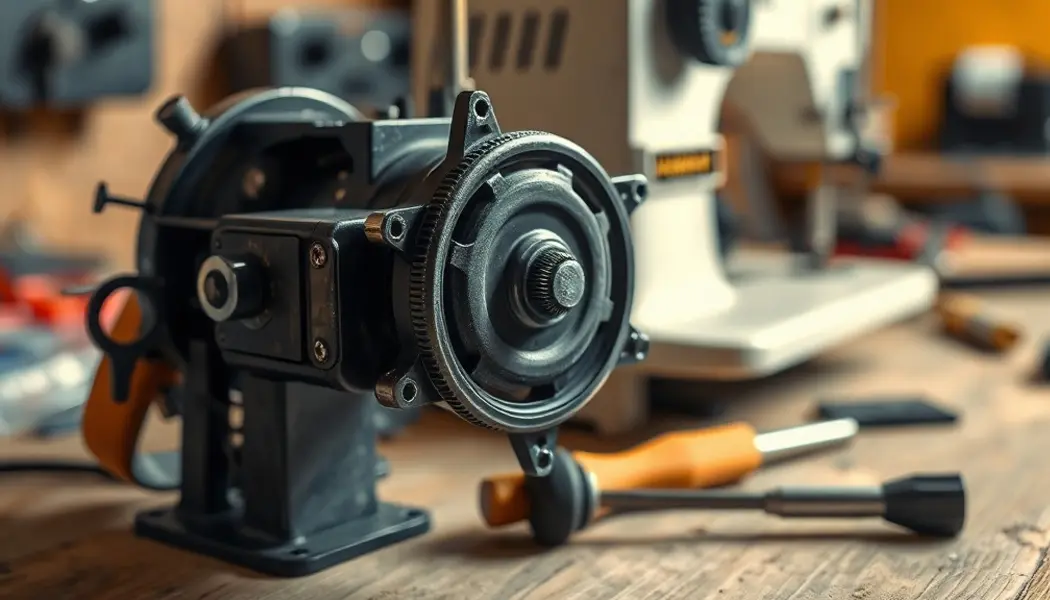
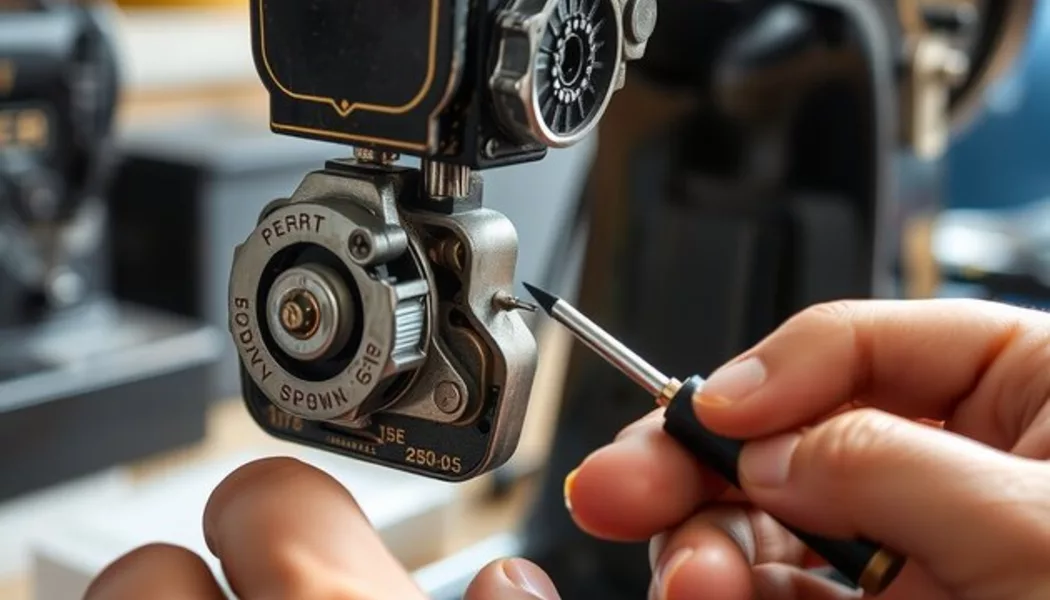
- Open the side access panel. On the Singer 99K, this is the right-side panel. Remove the 2–3 small Phillips screws and set it aside. You’ll see the main timing gear, the drive shaft, and the rotary hook assembly — the large gear drives both the needle bar and the hook simultaneously.
- Find the timing reference marks. Look for small painted dots, scratched notches, or worn witness marks on the face of the main gear and on the drive shaft behind it. These marks should align at the timing position. If they’re faded — common on machines 50+ years old — hold your headlamp at an angle; low-angle light makes faint marks pop. Can’t find any? Use a white paint pen or masking tape: rotate the handwheel until the needle is at its absolute lowest point, mark the gear and shaft positions, and take a photo.
- Verify the needle-to-hook gap. With the needle at its lowest point, look at the rotary hook tip. It should sit 1/32″–1/16″ above the needle eye — not aligned with it, not below it. Use a jeweler’s loupe or your phone’s macro lens to see this clearly. A wrong gap confirms timing is off, and tells you which direction to rotate the gear.
Don’t skip Step 3 — the measurement tells you both where you are and which direction to rotate.
Step 4–8: Make the Timing Adjustment (The Core Fix)
This is the actual Singer 99K timing adjustment. Work through these steps in order, testing after each change. Don’t skip ahead or stack multiple adjustments before testing — one tooth at a time is the rule.
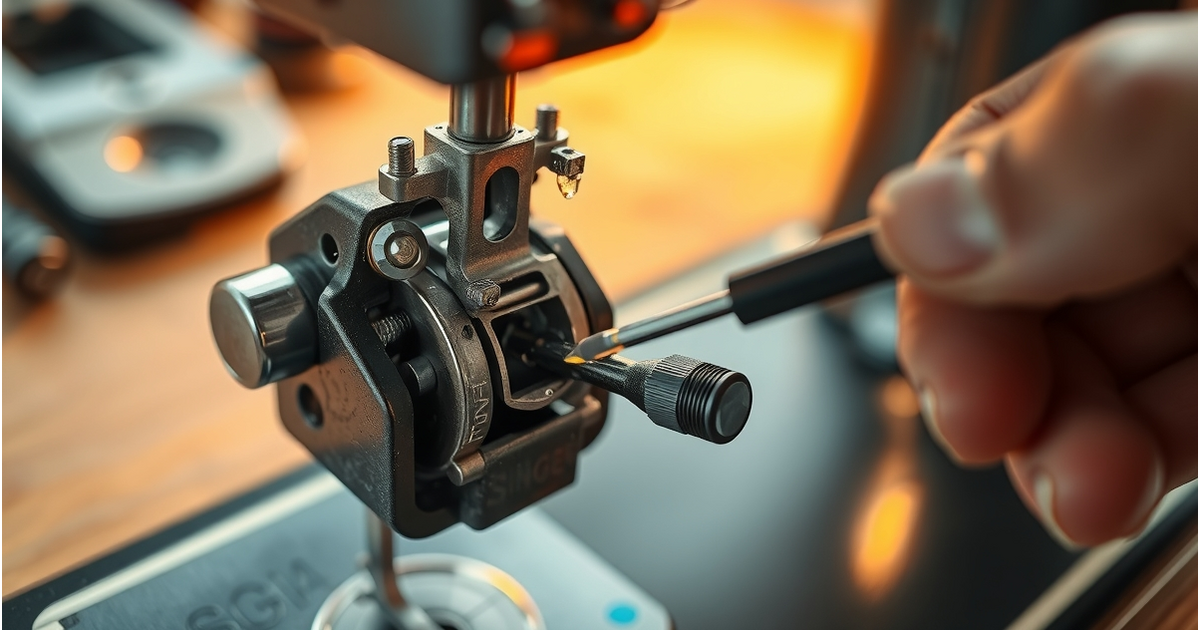
- Loosen the timing gear set screw. Find the small flathead set screw on the side of the main timing gear, recessed into the gear body. Loosen it just 1/4 turn — you’re not removing it, just giving the gear enough play to rotate. If it feels frozen, apply a single drop of sewing machine oil, wait 3 minutes, then try again. Do not use WD-40 — it leaves residue that attracts lint and gums up the gear.
- Choose your adjustment direction. Based on what you saw in Step 3:
- If the hook tip was below the needle eye at the needle’s lowest point — the hook is arriving too late. Rotate the gear clockwise (viewed from the right side of the machine) to move the hook earlier in the cycle.
- If the hook tip was well above the needle eye (more than 1/16″) — the hook is arriving too early. Rotate the gear counterclockwise to move the hook later.
- If you’re seeing loops on TOP of the fabric when you sew, that also means too late — rotate clockwise.
- If you’re seeing loops on the BOTTOM of the fabric, that means too early — rotate counterclockwise.
- Rotate the gear by 1–2 teeth only. With the set screw loosened, grip the timing gear and rotate it in the correct direction. One tooth is a significant change — move one, re-check the needle position by turning the handwheel, and see if the hook tip gap has improved. If it’s close, stop. If it’s still well off, move a second tooth. Never move more than 2 teeth without testing.
- Re-tighten the set screw. Finger-tight plus a quarter wrench turn. That’s it — “tight” means snug, not cranked. Over-tightening strips the threads, and a stripped set screw on a vintage machine is annoying to source.
- Reassemble and sew one stitch. Replace the side access panel, tighten its screws, insert a fresh needle, and thread the machine with quality cotton thread. Lower the presser foot onto a scrap of thin cotton and sew a single stitch. If you hear a click or feel resistance, the needle is hitting the hook — open the panel and move the gear one tooth in the opposite direction. If the stitch looks normal, move on to Step 7.
- Fine-tune if needed. If you’re close but still seeing loops: loop on top means hook still too late, so rotate clockwise one more tooth; loop on bottom means too early, so rotate counterclockwise. After each single-tooth adjustment, return to Step 5. The 99K usually lands in the right position within 2–3 iterations. If you’re still seeing loops after 4 total tooth adjustments in either direction, something more complex than timing drift is at play — see the “When to Call a Pro” section.
- Run the full three-fabric test. Thread the machine and sew 2–3 inches each on thin cotton, medium muslin, and denim — without stopping between fabrics. All three should pass without skips, loops, or needle bending. Denim is the stress test: if it fails while cotton passes, make one more single-tooth clockwise adjustment and rerun. When all three sew cleanly, the adjustment is done.
3 Mistakes That Ruin Your Adjustment (& How to Prevent Them)
Mistake 1: Over-tightening the set screw. Cranking the screw strips the threads — timing drifts back immediately and you need a replacement screw for a 70-year-old machine. “Snug” means finger-tight plus a quarter wrench turn. If it spins freely, it’s stripped; if it won’t budge, back off an eighth turn.
Mistake 2: Testing on thick fabric first. Timing that’s almost right will sew thin cotton fine but fail on denim. Starting with denim gives you no information about how close you are. Always run the progression: thin → medium → thick.
Mistake 3: Not re-securing the access panel properly. The side panel provides structural support that keeps the gear assembly in position. Loose screws mean the panel vibrates, the gear shifts, and your timing drifts back within minutes. Check that the panel sits flush, then tighten screws in a crisscross pattern for even tension.
Red Flags: When DIY Ends & Professional Help Begins
Most Singer 99K timing problems are fixable at home. But stop and call a pro if you encounter any of these:
- Gear teeth are visibly cracked, chipped, or missing. Adjusting around broken teeth doesn’t work — the gear needs replacement ($30–50 in parts plus labor).
- The handwheel won’t turn, or turns with heavy grinding resistance. Something is jammed internally — forcing it risks serious damage.
- After 4–5 tooth adjustments in both directions, stitches still skip. The problem runs deeper than timing drift.
- You see or smell burning during motor operation. Unplug immediately and get a technician to inspect the motor.
- The needle plate is visibly bent. Plate replacement needed before any timing adjustment makes sense.
Professional timing service typically runs $150–300 all-in. For a machine with sentimental value, that’s money well spent. Compare the repair estimate against the eBay price for a working Singer 99K (usually $80–150) before deciding.
If you’re dealing with bobbin-related stitch issues, our Singer 66 bobbin case guide covers a parallel set of problems with overlapping diagnosis steps.
Frequently Asked Questions About Singer 99K Timing Adjustment
How long does a Singer 99K timing adjustment actually take?
Plan for 45–60 minutes the first time: opening the panel, making the adjustment, testing across three fabric weights. If you’ve done it before, 30–45 minutes is realistic. The biggest time sink is Steps 1–3 — finding or recreating the timing marks. Don’t rush that part.
Can I adjust timing on a motorized Singer 99K the same way?
Yes — the mechanical timing system is identical regardless of power source. The motor housing may partially block the side panel; if so, remove the motor mounting bracket (2–3 screws, no wires to disconnect), swing it clear, make your adjustment, then reinstall before final testing.
What if I adjust the timing but stitches still skip?
Start with a fresh needle and re-thread both upper and lower threads — this solves a surprising number of cases. If that doesn’t help, move the gear one more tooth in the opposite direction and retest. Still stuck after 2–3 attempts? The problem likely isn’t timing — see the “Red Flags” section.
Can timing go bad again after I fix it?
Rarely, if the set screw is properly tightened and the machine stored correctly. Timing drift usually follows years in humid or cold storage, or after shipping. If yours drifts again, you already know exactly what to do — the second adjustment takes half the time.
Is it safe to adjust timing without mechanical experience?
Absolutely — the machine is unplugged and purely mechanical, with no capacitors or components that hold a charge. The only real risk is stripping a set screw (replacements are under $1 on eBay). Move one tooth at a time, test after every change, and you’ll be fine.
What if the timing marks are completely worn off?
Recreate them. Rotate the handwheel until the needle is at its absolute lowest point, then mark the gear and shaft with a white paint pen or masking tape. Take a photo. That reference is functionally identical to the factory marks.
You’ve Got This — Your Singer 99K Is Worth Saving
You don’t need a professional license to adjust your own machine’s timing. The Singer 99K was designed to be serviced by its owner — that’s what made it the beloved portable it became. By the time you’ve worked through this guide, your machine will either be sewing cleanly again, or you’ll know exactly why it isn’t.
Either way, you’ve saved $150 in professional fees and you understand your machine better than you did an hour ago. That 1953 portable your grandmother passed down is about to start sewing again.
After you’ve confirmed the fix, give the machine a thorough lubrication — the timing gears aren’t the only friction points on a 70-year-old machine. Our guide on how to oil a vintage sewing machine covers every lubrication point on machines like the 99K, and explains why the wrong oil does more harm than skipping it entirely.
Fix the timing. Oil the machine. Then go sew something.
Frequently Asked Questions About Singer 99K Timing Adjustment
How long does a Singer 99K timing adjustment actually take?
Plan for 45–60 minutes the first time: opening the panel, making the adjustment, testing across three fabric weights. If you’ve done it before, 30–45 minutes is realistic. The biggest time sink is Steps 1–3 — finding or recreating the timing marks. Don’t rush that part.
Can I adjust timing on a motorized Singer 99K the same way?
Yes — the mechanical timing system is identical regardless of power source. The motor housing may partially block the side panel; if so, remove the motor mounting bracket (2–3 screws, no wires to disconnect), swing it clear, make your adjustment, then reinstall before final testing.
What if I adjust the timing but stitches still skip?
Start with a fresh needle and re-thread both upper and lower threads — this solves a surprising number of cases. If that doesn’t help, move the gear one more tooth in the opposite direction and retest. Still stuck after 2–3 attempts? The problem likely isn’t timing.
Can timing go bad again after I fix it?
Rarely, if the set screw is properly tightened and the machine stored correctly. Timing drift usually follows years in humid or cold storage, or after shipping. If yours drifts again, you already know exactly what to do — the second adjustment takes half the time.
Is it safe to adjust timing without mechanical experience?
Absolutely — the machine is unplugged and purely mechanical. The only real risk is stripping a set screw (replacements are under $1 on eBay). Move one tooth at a time, test after every change, and you’ll be fine.
What if the timing marks are completely worn off?
Recreate them. Rotate the handwheel until the needle is at its absolute lowest point, then mark the gear and shaft with a white paint pen or masking tape. Take a photo. That reference is functionally identical to the factory marks.